|
|
||
| New User Tutorials for ZenCart 1.3.8x - 1.3.9x |
June 2011 |
|
| ◄BACK | ||
|
Adding Text Fields for Product Options Text fields are useful for when you have a product that can be personalized such as wrappers, monogrammed clothing, etc. The text fields provide a means for your customers to enter their information such as a name, birth date, or some other bit of information that a dropdown or radio button would not allow for. Adding the text fields are very similar to adding other attributes and we'll go through the process below. To get started we will need to define some product attributes. By doing this one time, it makes it possible to skip this step in the future and move right to assigning the attributes to the products. |
||
|
--------------------------------------------------------------------------------------------------- |
||
|
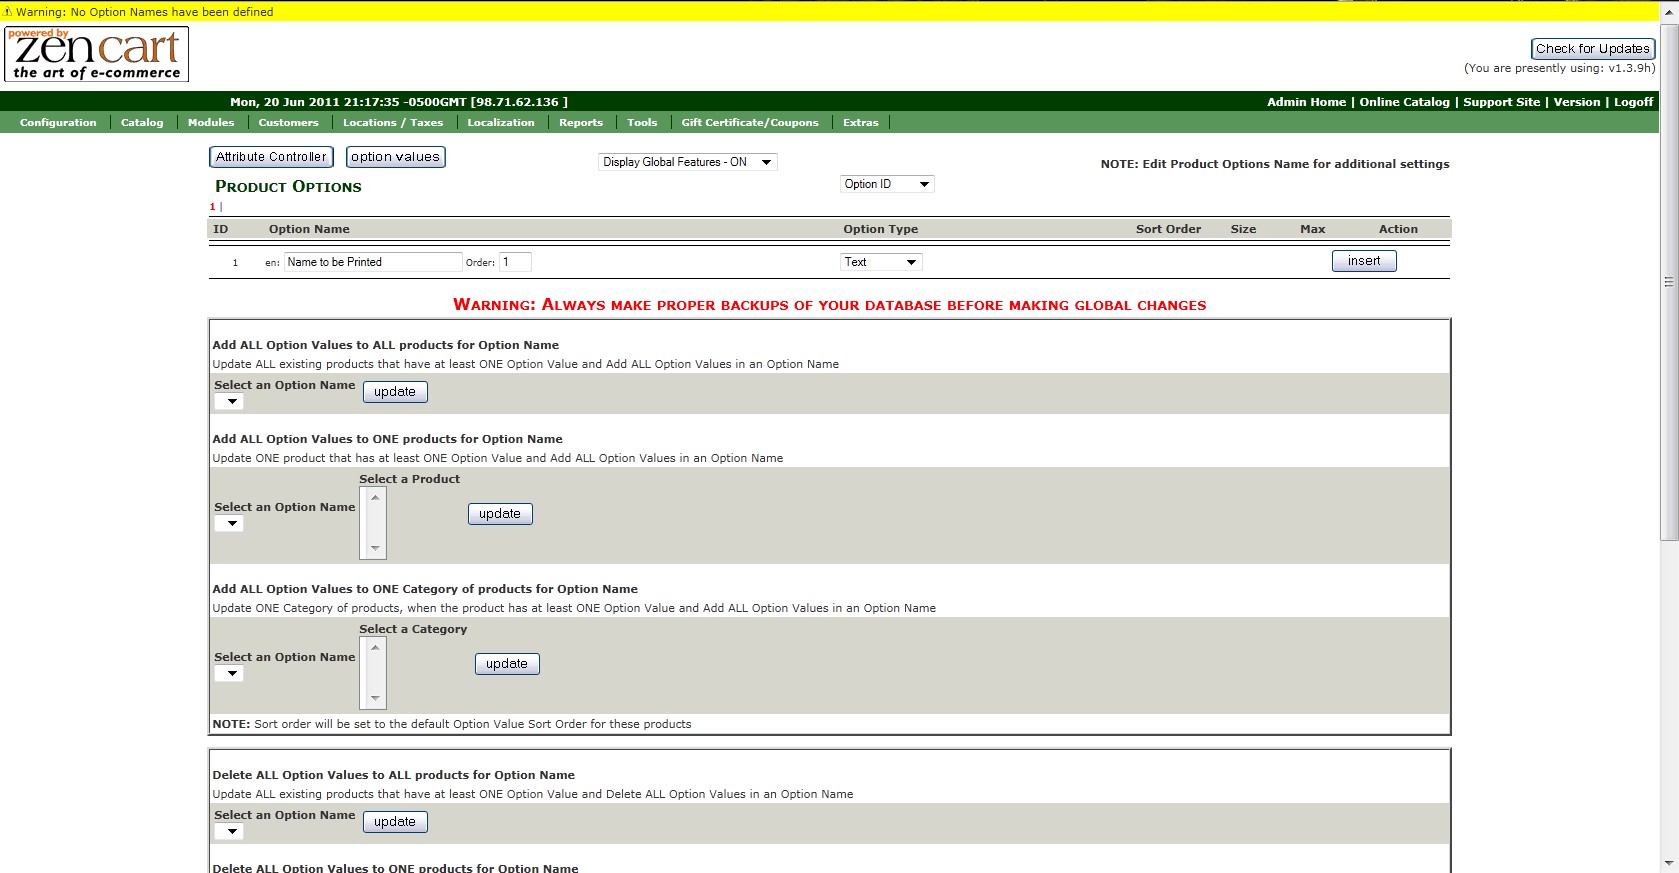
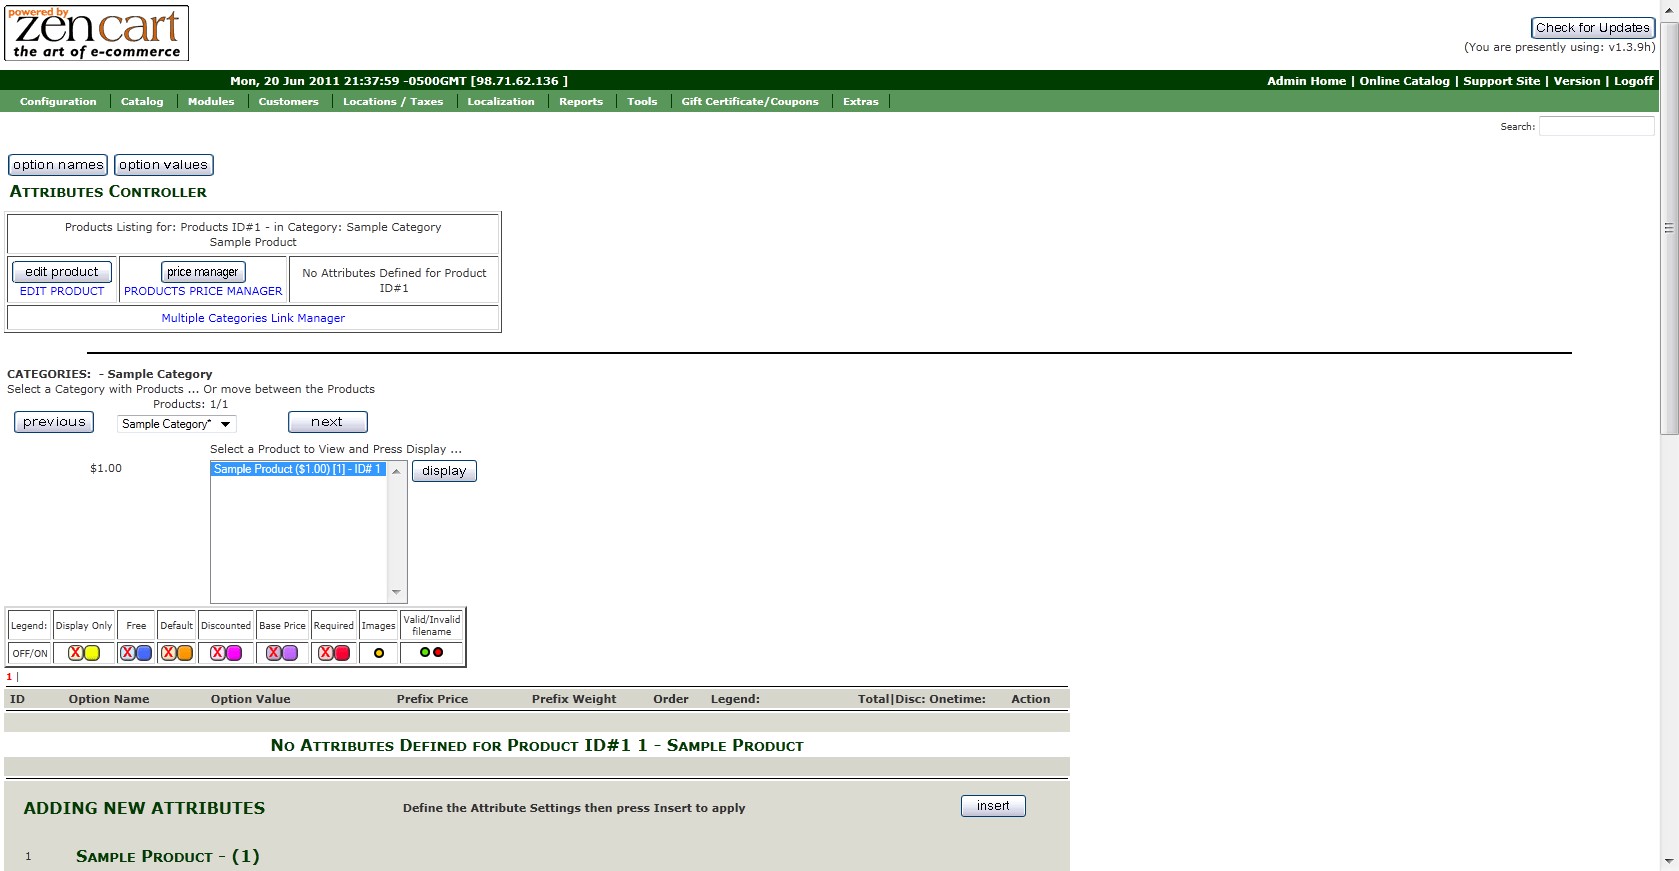
Step One:
Setting
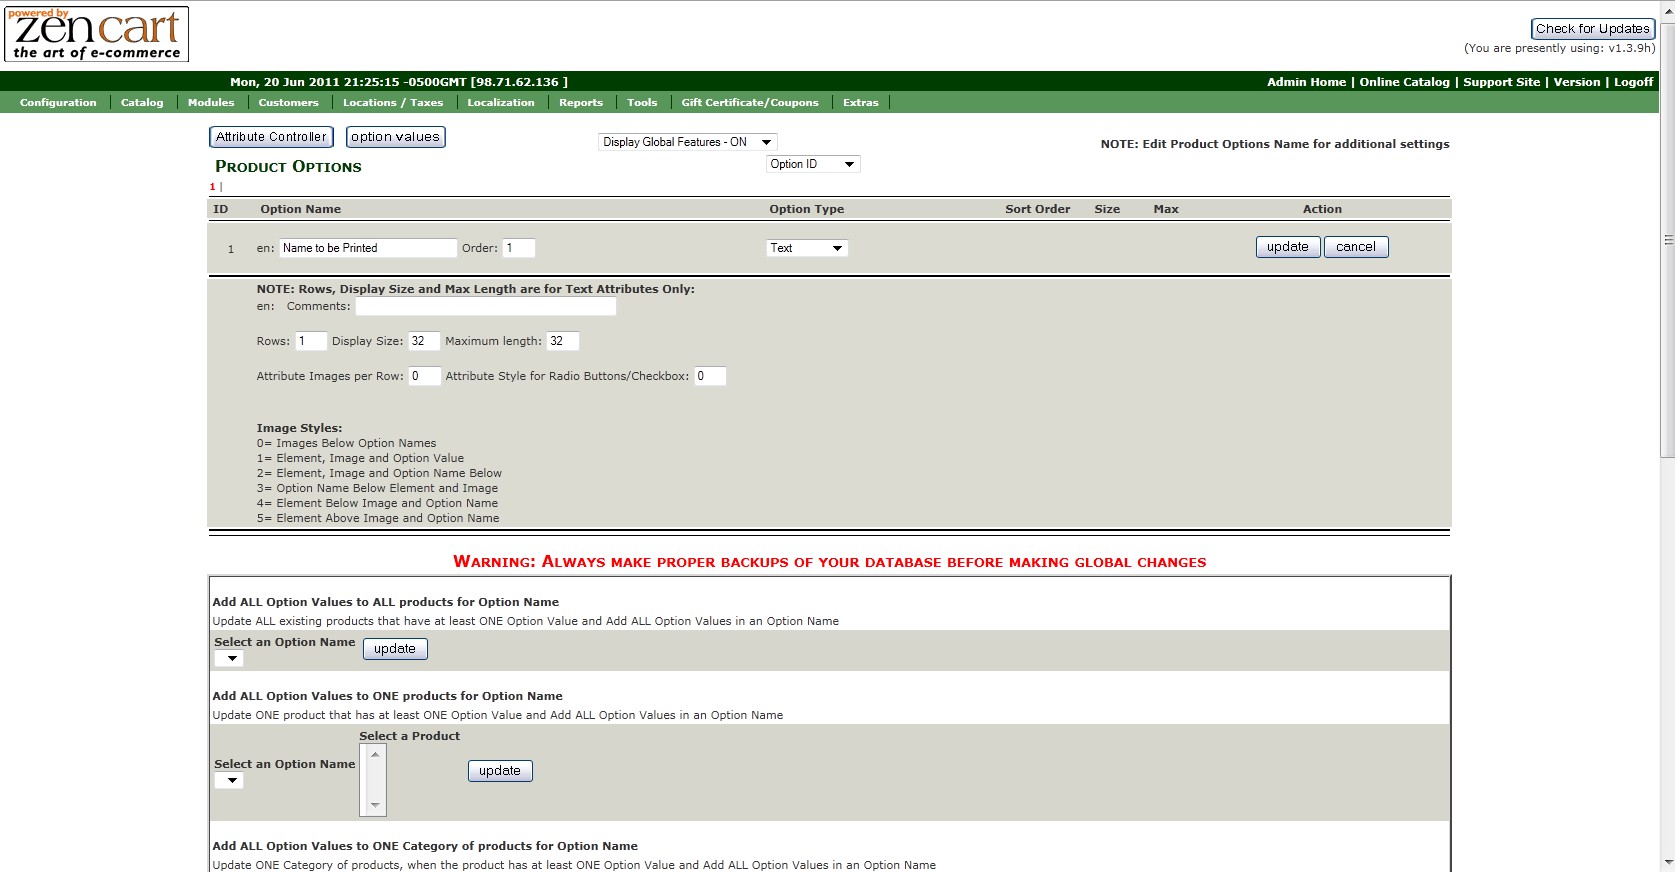
up an Option Name To get started we'll need to go to the Attribute Controller: CATALOG > ATTRIBUTES CONTROLLER and start by adding a name for our option. What you're looking for is the first line under the very first tan coloured bar, there will be an "en:" followed by a blank box there. This is where we'll name it something like "Name to be Printed". The sort order is important here if you will be adding several text fields and want them in order, so if needed, number them accordingly and remember the smaller number will show first ( example 1 will be first followed by 2 below it, 3 below 2 ). Under OPTION TYPE you need to change it from Dropdown to TEXT so that the cart knows to insert a blank text field there. Click on the
Once you've click on the
If you click on the
From here we deviate from the previous method of adding attributes to our products because we don't have to set any option values since we want the customers to enter their text in the block we've created. What we need to do next is add this attribute to a product. |
|
|
|
--------------------------------------------------------------------------------------------------- |
||
|
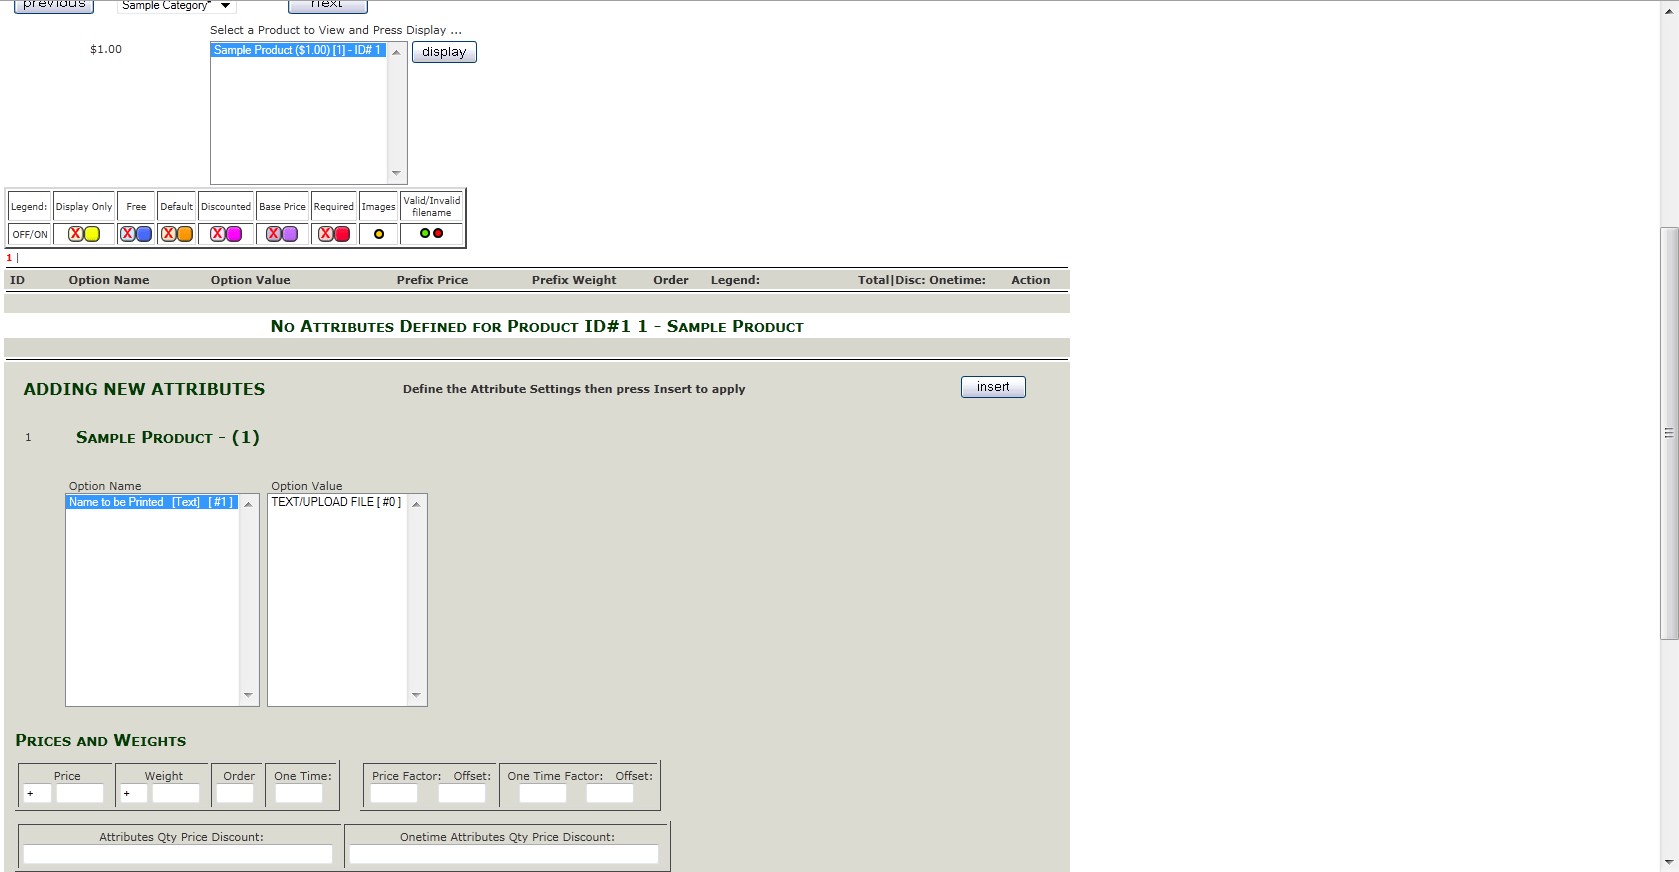
Step Two: Adding the
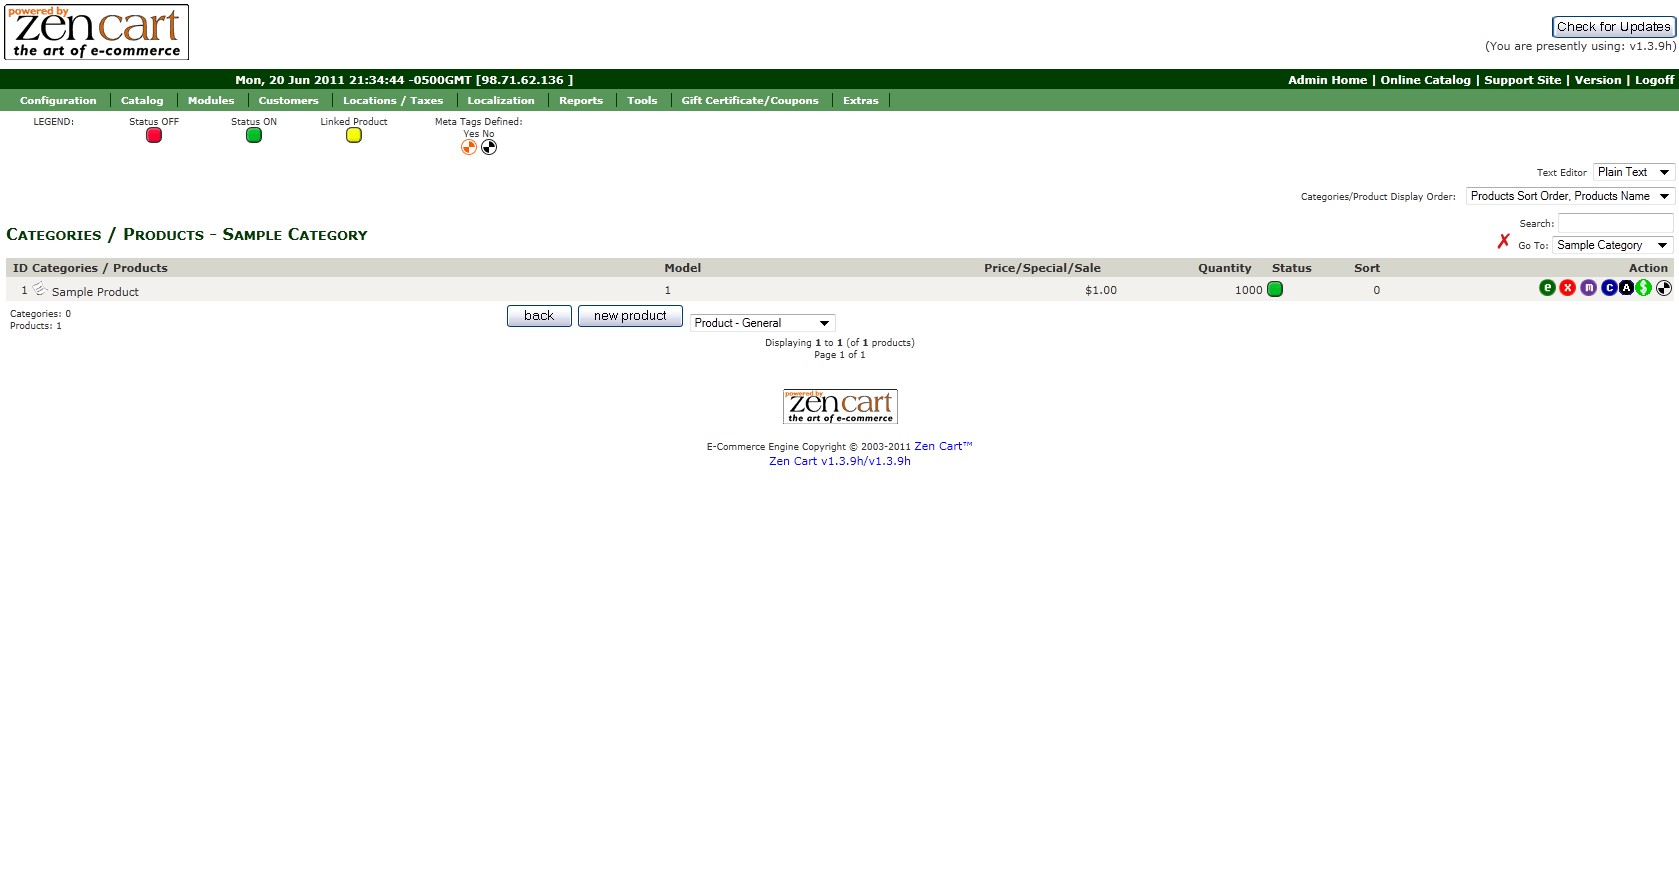
new option to a product Let's assume
you're looking at your product listing, what you want to do is click on
the
ADMIN > CATALOG > ATTRIBUTES CONTROLLER As with adding other options to the products we're going to be scrolling down to where it says ADDING NEW ATTRIBUTES in the tan section. Here you will see two large white fields with your products name over them. The first one is called OPTION NAME, and here is where we select the name of the text field option we created in step 1, in this case "Name to be Printed". The next field is titled OPTION VALUE and we will be selecting the only available value that comes up, TEXT/UPLOAD FILE. For the sake of expediency I'll forego explaining
the prices and weights as there are a great many things you can change
here to affect pricing, play with them and experiment. So go ahead and
click on the
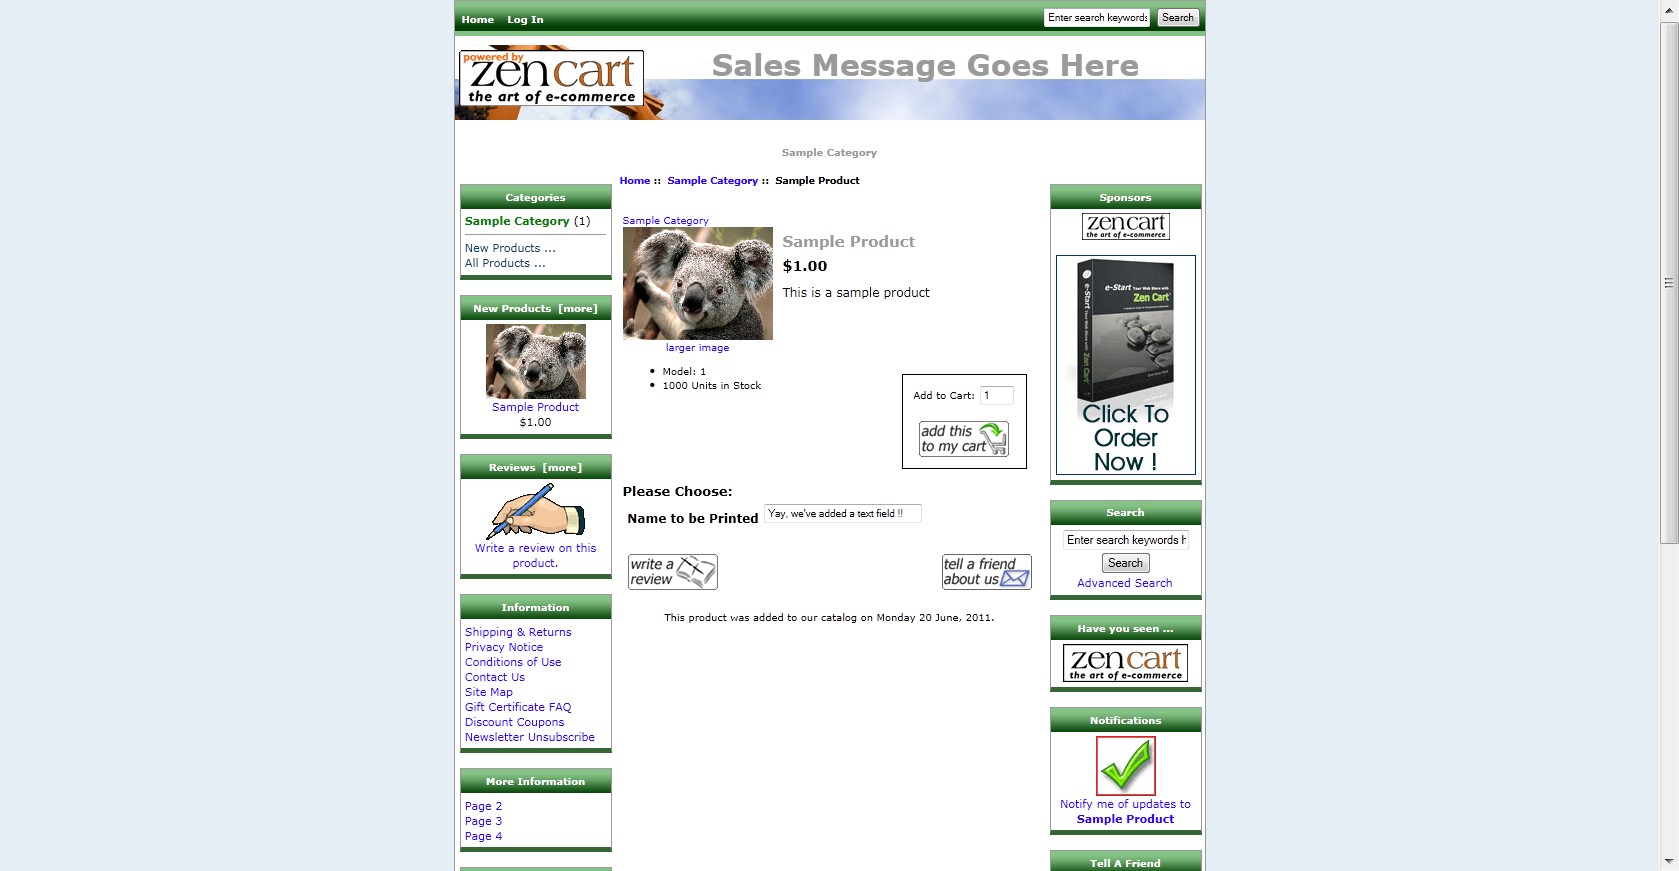
If you want to add more options you can do so at any time and you can mix and match them as well. If you look at the final picture you can see a sample of the product now with the new text field there. Now, you will be able to see what they entered in the admin section on their invoice and it will also show up in the order email you get when the customer places an order. |
|
|
|
--------------------------------------------------------------------------------------------------- |
||