|
|
||
| New User Tutorials for ZenCart 1.3.8a |
January 2009 |
|
| ◄BACK | ||
|
Welcome to the ZenCart Admin Panel At this point we are going to assume you already have ZenCart installed on your site. It will be in either the root directory of your website with a url like: http://www.yourdomain.com or be in a subdirectory and have a url like: http://www.yourdomain.com/cart For example, the URL for my project cart is: http://www.valhalla-computers.com/project and the admin panel is located at: http://www.valhalla-computers.com/project/admin To access the admin panel for ZenCart, where you will gain control of 98% of the features it has to offer, you will need to point your browser to the admin page by one the following means: In either of the above cases replace yourdomain with the name of your domain, and if it's installed in a directory other then cart, replace that with the proper directory name as well. |
||
|
--------------------------------------------------------------------------------------------------- |
||
| Step One: Logging In The first thing you will encounter is the login screen. This is in place to keep people from randomly coming to your site and changing your settings which could potentially crash your site or make it so that payments go somewhere other then to you. Simply put in the username and password provided to you, please note that this is not the same as your cPanel login. |
|
|
|
--------------------------------------------------------------------------------------------------- |
||
|
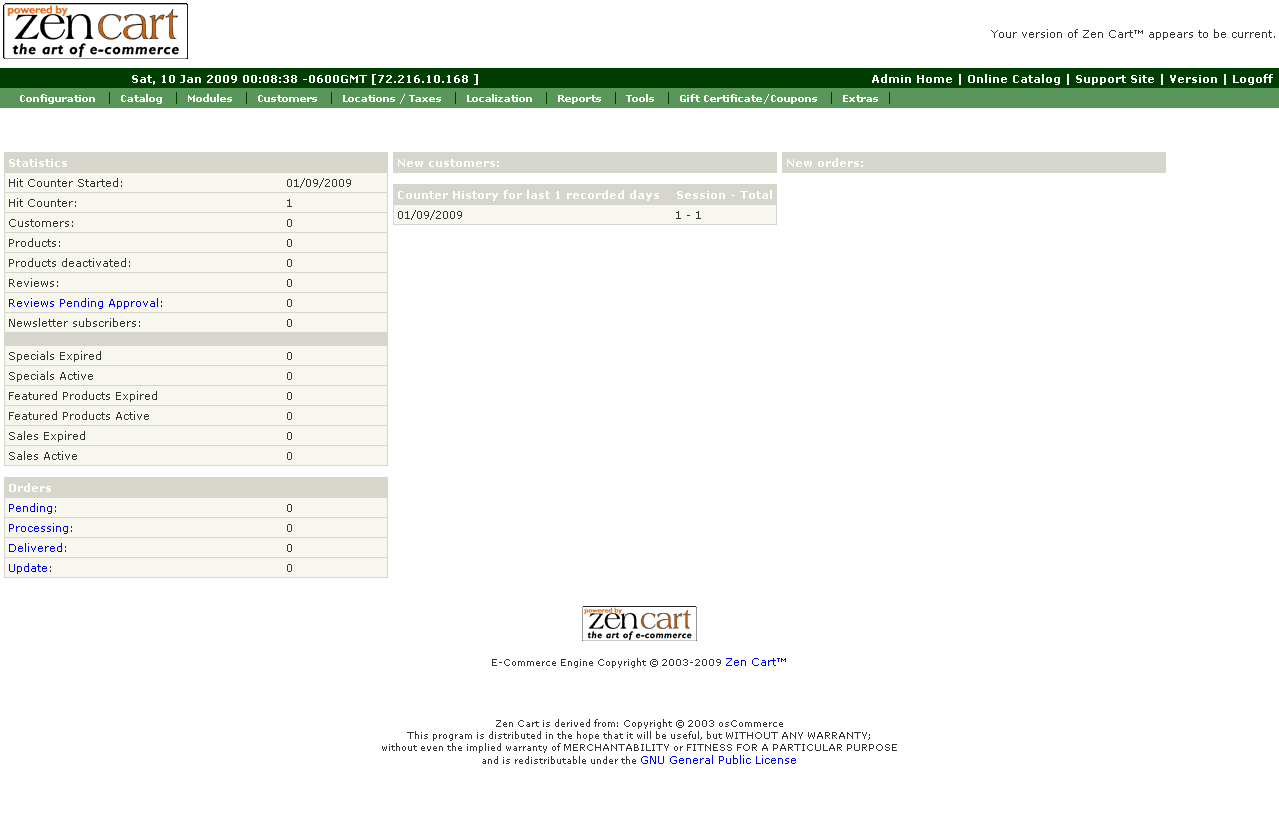
Step Two: What the ????? Welcome to
the main admin screen Right now you're probably looking at everything and thinking "What have I gotten myself into ???" and getting ready to send me an email and screaming for help. First, don't send that email, keep reading. What you are looking at right now is the main screen for the Admin Panel in Zencart. It's from here that you will find links to control all of the various functions of Zencart. |
|
|
|
--------------------------------------------------------------------------------------------------- |
||
|
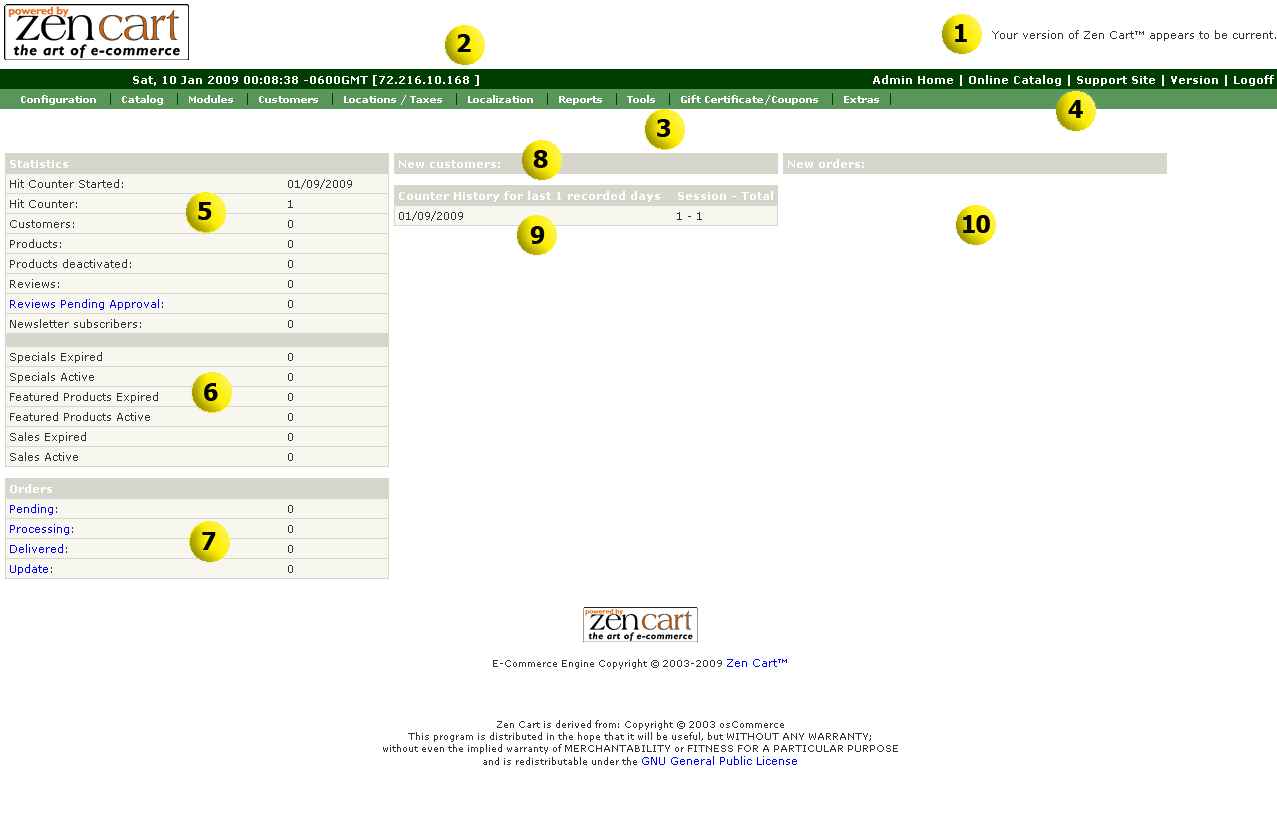
Step Three: Getting Acquainted with
the Admin Panel Take a look at the picture to the right, it has numbers on it much like a diagram for a toy. While looking at the image, you can come back here and see what the numbers mean and what function it has on the cart.
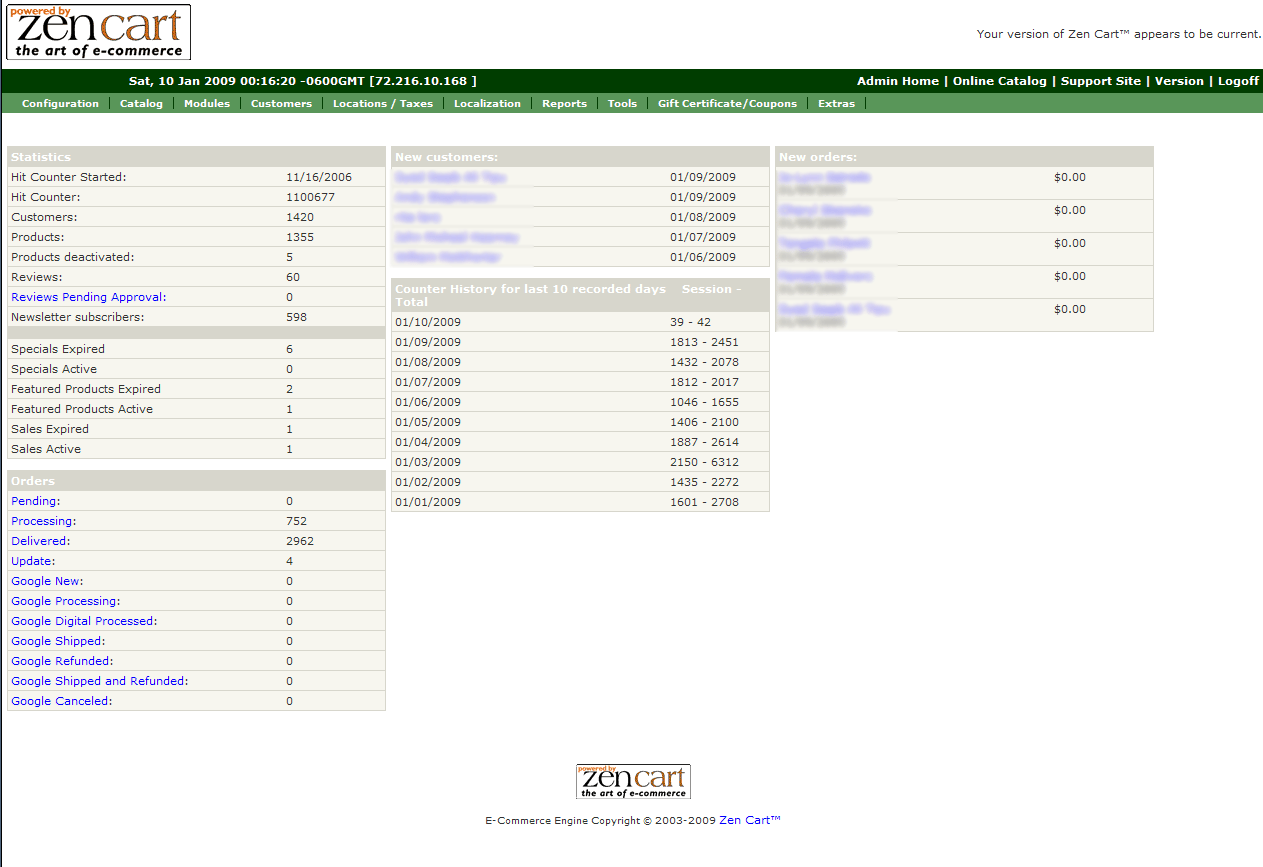
The second picture to the right, shows an admin panel that's been in use for some times and all of the sections are populated with information just to give you an idea of what you can see there. The main bar you will need to pay attention to is the Secondary Navigation Bar which again, is the light green bar that run across the screen. This is where you will be starting your journey to other screen in the admin panel. |
|
|