|
|
||
| New User Tutorials for ZenCart 1.3.8a |
January 2009 |
|
| ◄BACK | ||
| Adding Product Attributes ( includes downloads ) Product attributes are very useful with ZenCart, and give you even more options and versatility with your products. This is also where you will tell the cart what files to allow for download when a customer purchases a product, checks out, and pays for it. The cart will automatically give them a download link they can use to download their purchases. Product attributes are also useful if you have something like a candle that comes in different scents or colours. You would give your customer the option of purchasing the candle in the colour red or lavender scented. This will help keep you from having to list the same candle 10 different times because you have 10 different colours or scents. You list it one time, assign the product attributes, and it will add the options for the customer to choose from on the products info page. To get started we will need to define some product attributes. By doing this one time, it makes it possible to skip this step in the future and move right to assigning the attributes to the products.
|
||
|
--------------------------------------------------------------------------------------------------- |
||
|
Step One:
Setting
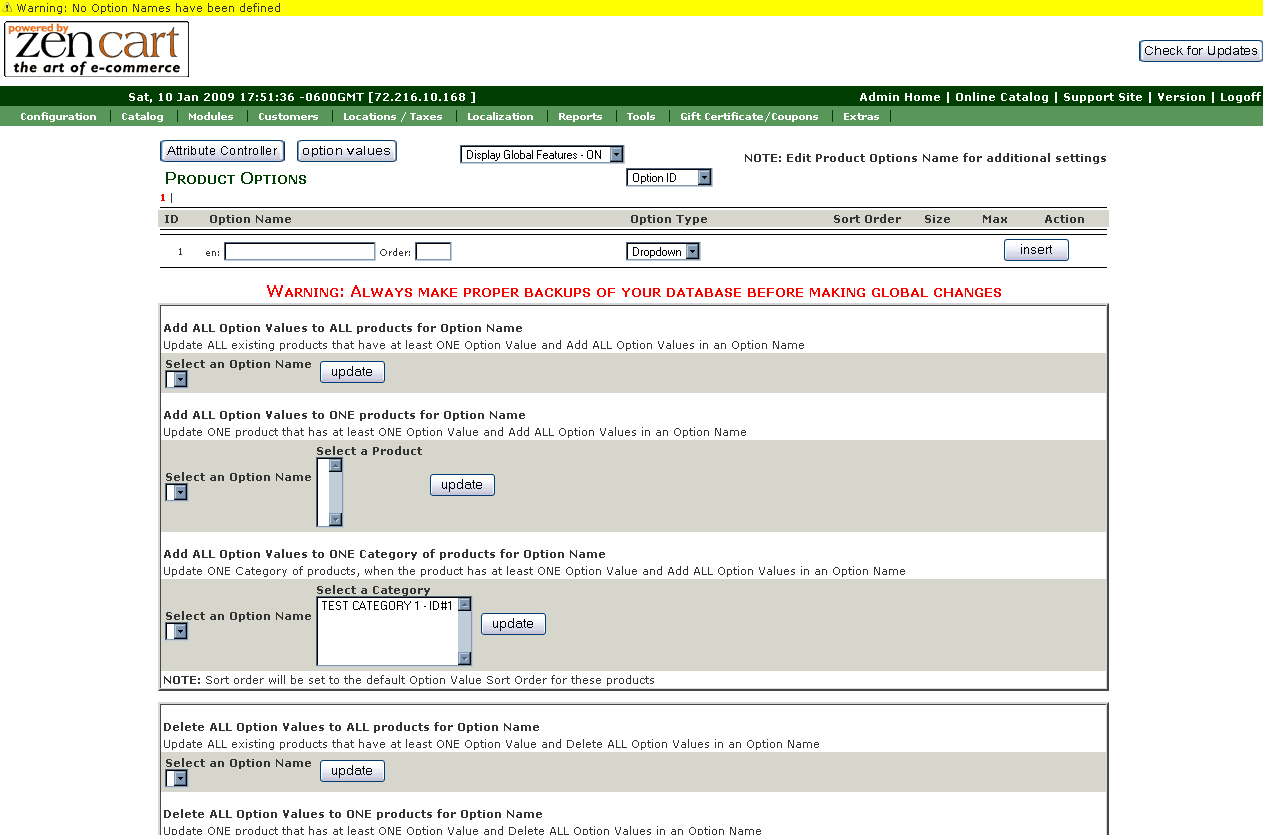
up an Option Name To get started we'll need to go to the Attribute Controller: CATALOG > ATTRIBUTES CONTROLLER and start by adding a name for our option.
What you're looking for is the first line under the very first tan
coloured bar, there will be an "en:" followed by a blank box there. This
is where we'll name it something like "Delivery Format". Don't worry about
the sort order since we're only going to be dealing with one type of
archive (ZIP file). Click on the
Once you've click on the
To move onto the next step, click on the
|
|
|
|
--------------------------------------------------------------------------------------------------- |
||
|
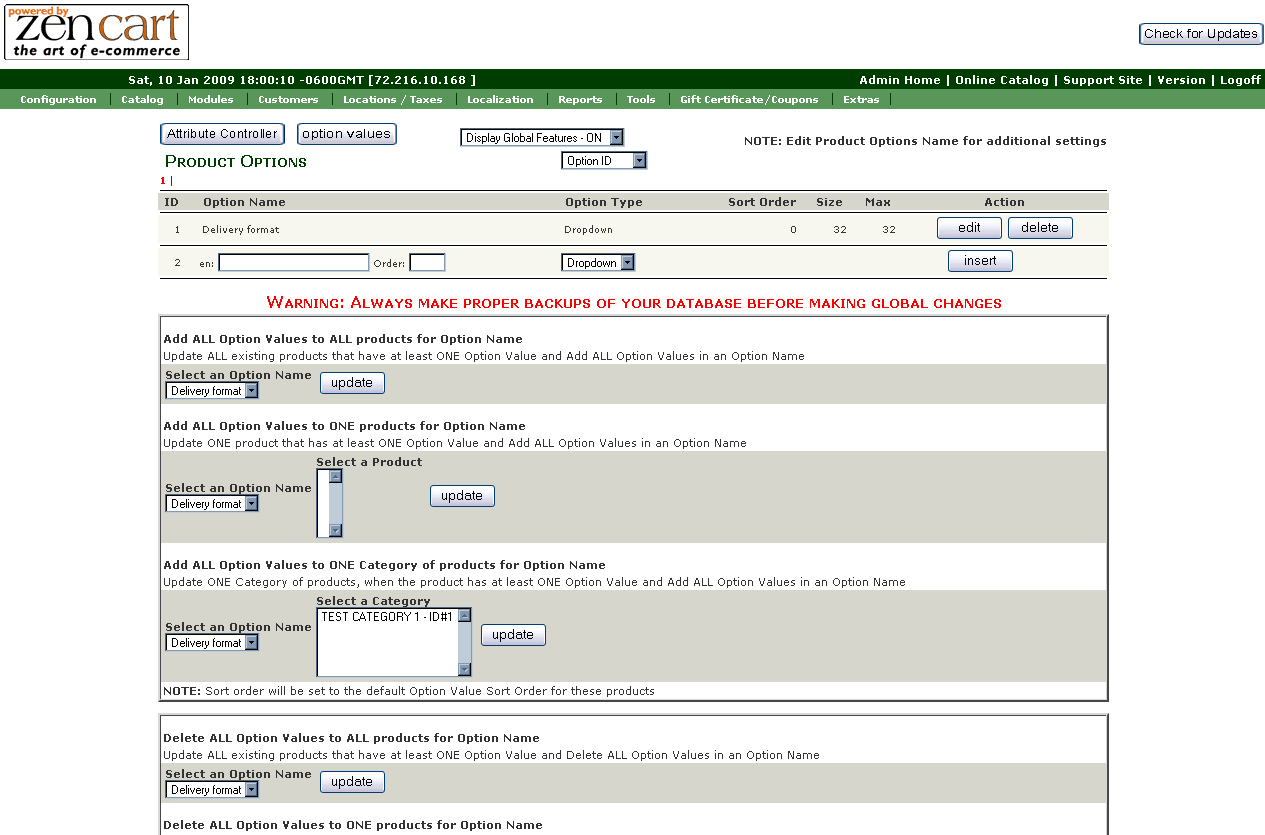
Step Two:
Setting
up an Option Value The option values give you diversity without having to list a product more then once. It's here that we can now give the customers the option of choosing a red, lavender scented candle. Under the first tan coloured bar across the top is
a line similar to the from step one. The difference is that now we have a
dropdown menu that shows the option names we created in step one. In the
example to the right you can see it's automatically showing the only
option name I have now and that's "Delivery Format". Here is where I will
tell set the name for this option which in this case will be "Compressed
ZIP". and put it in the white box next to the "en:". Once that's been
done, click on the
Now that's all there is for a downloadable product.
If you want to add more options values say for candle scents, just
repeat this process. Make sure that the Option Name is selected in the
drop down menu, put the name of the candle scent in the box, and click
on the
|
|
|
|
--------------------------------------------------------------------------------------------------- |
||
|
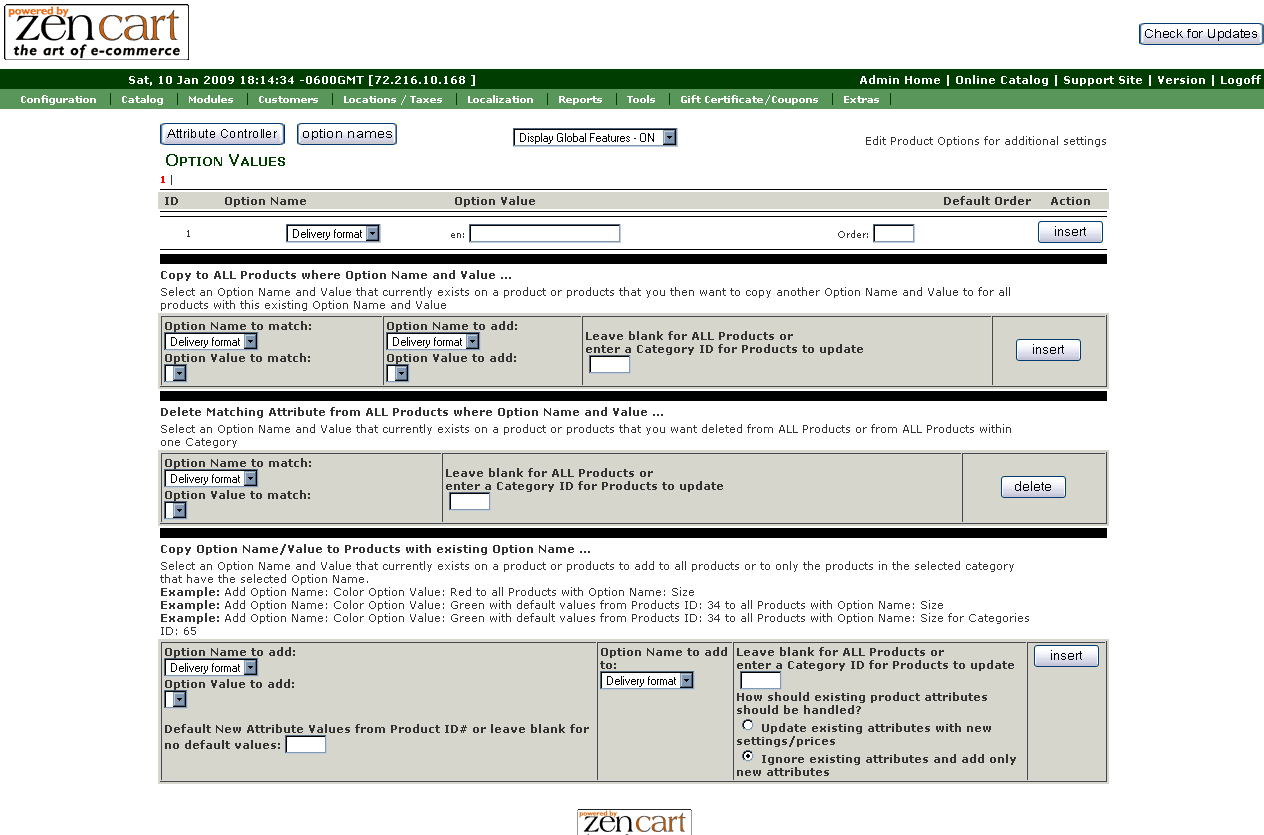
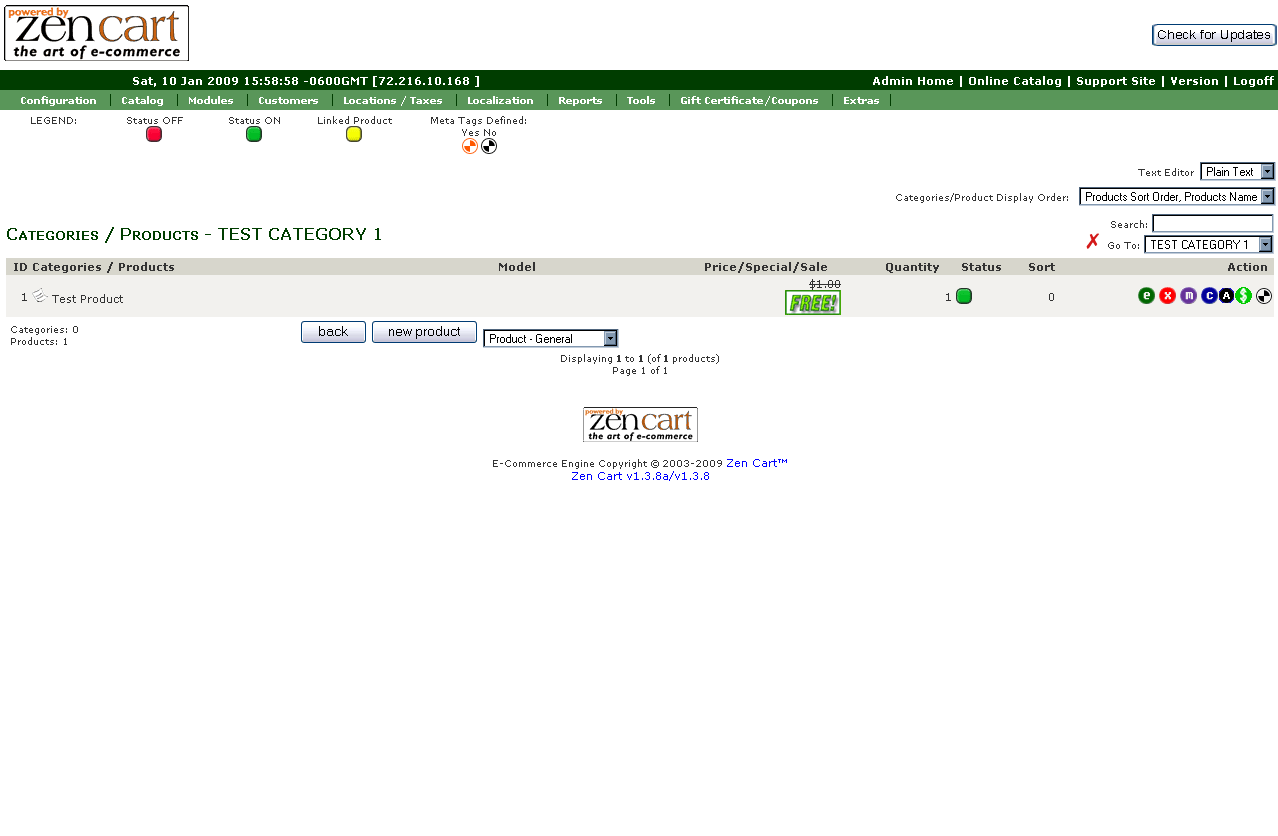
Step Two: Assigning
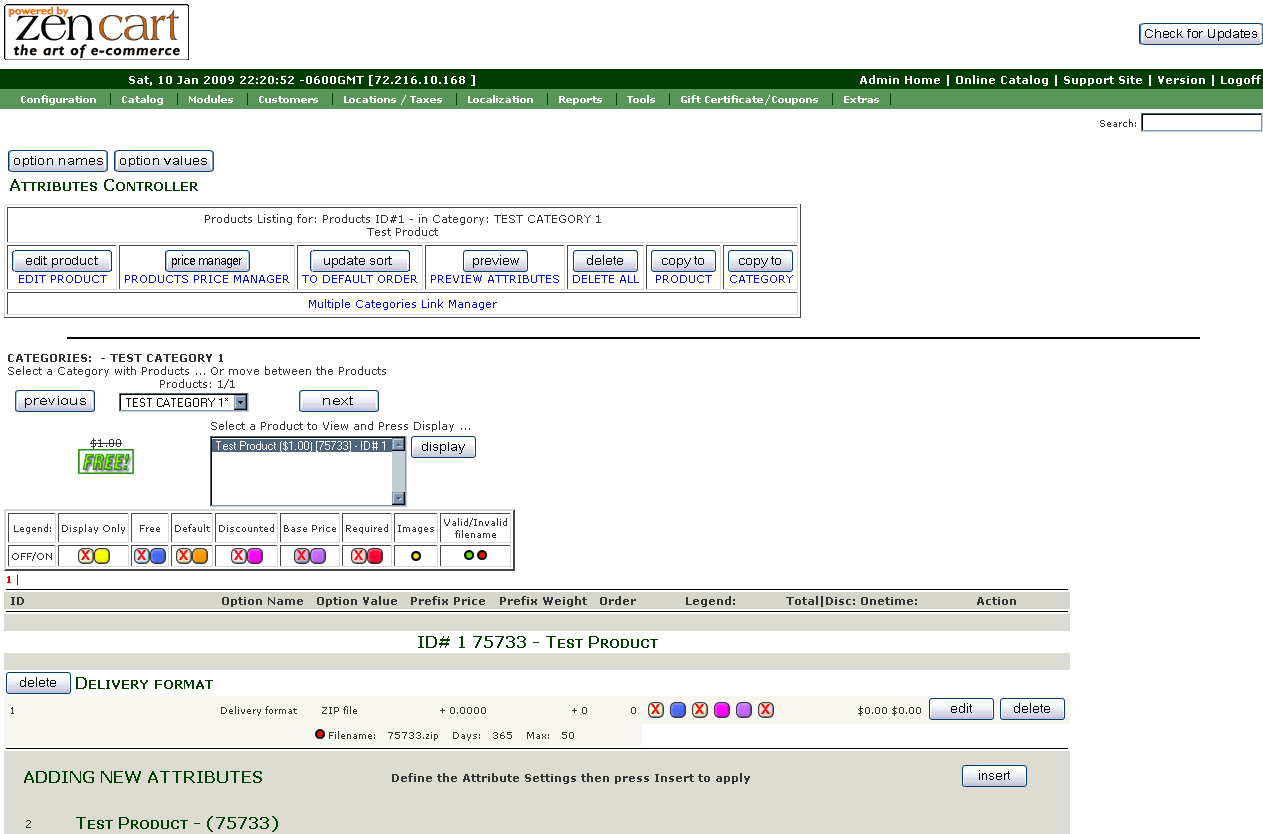
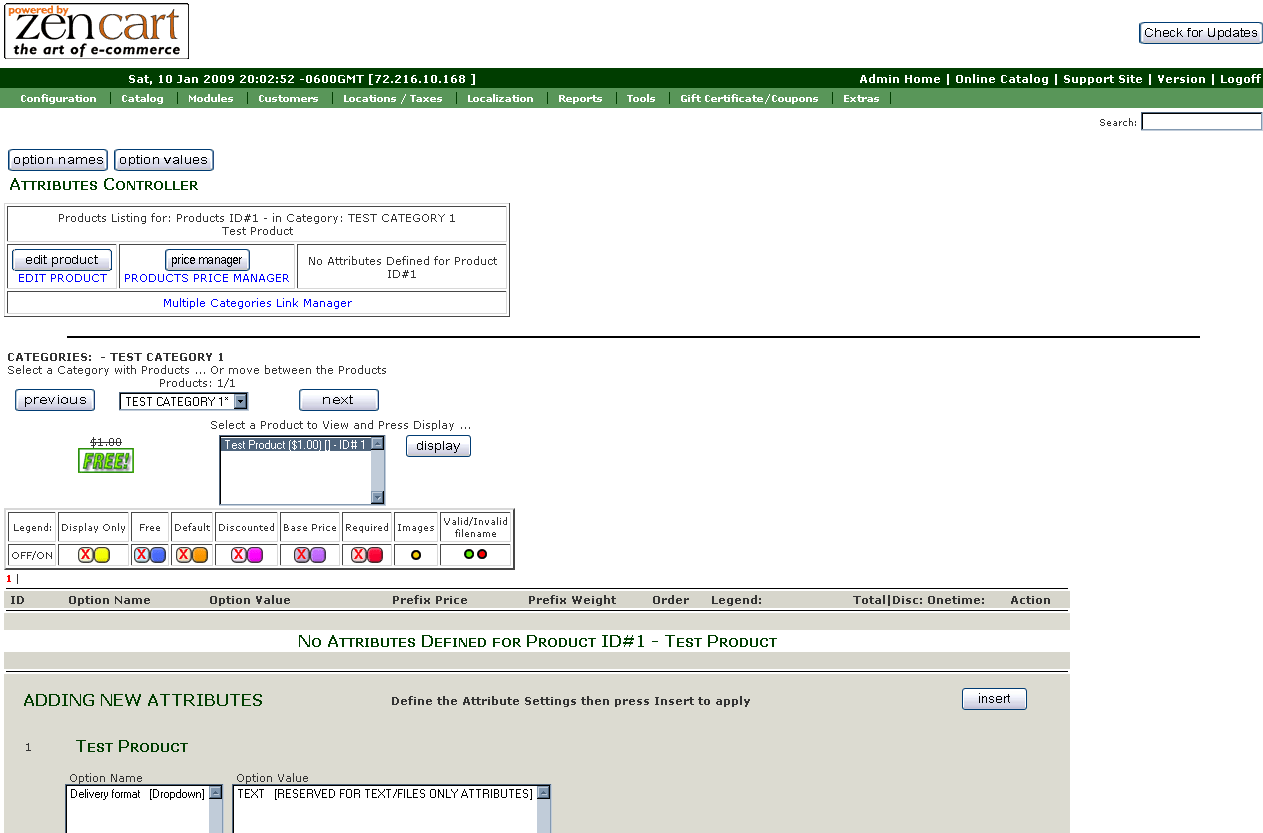
the Attribute to the Product To move onto the next step, we need to go back to where our products are listed, so goto here and then work down to where your product(s) are at: CATALOG > CATEGORIES & PRODUCTS Once you're here I want you to look over to the
right at the buttons and click on the little one like this
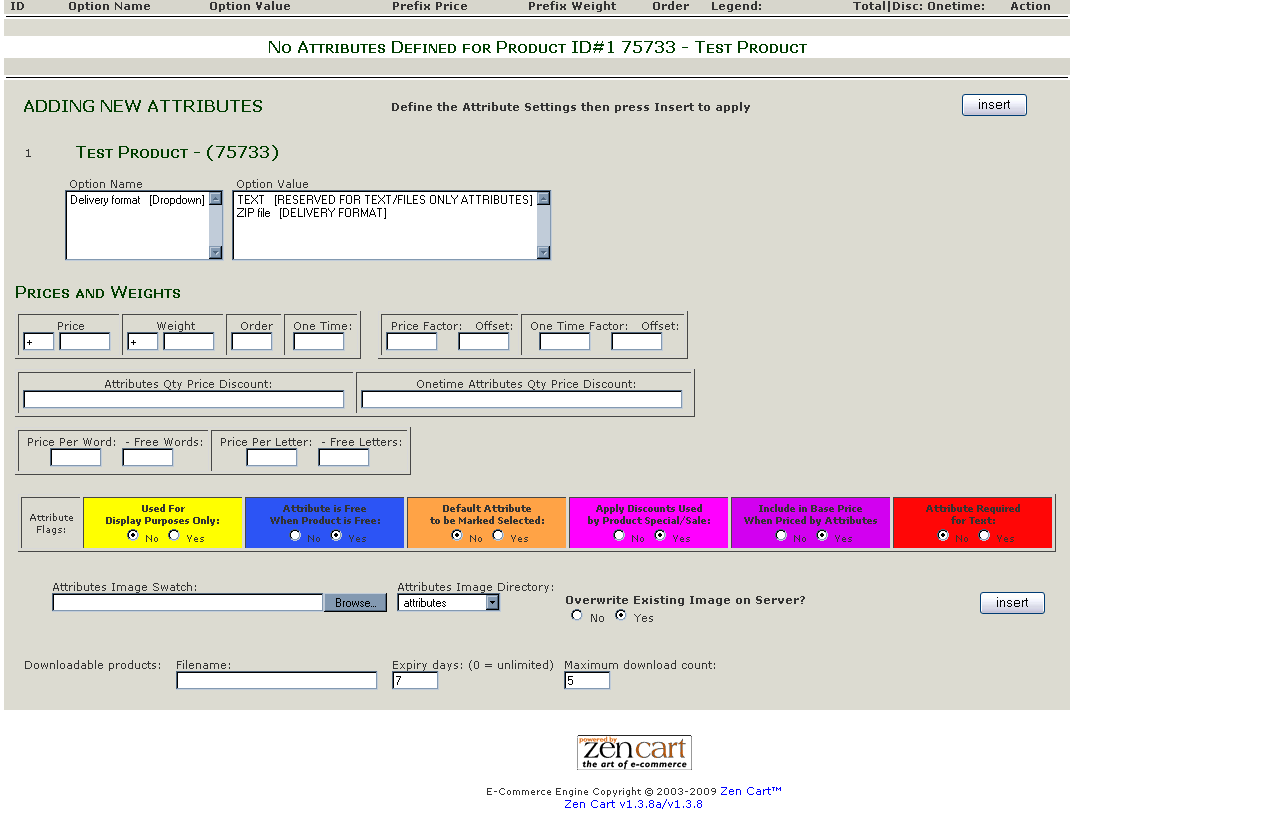
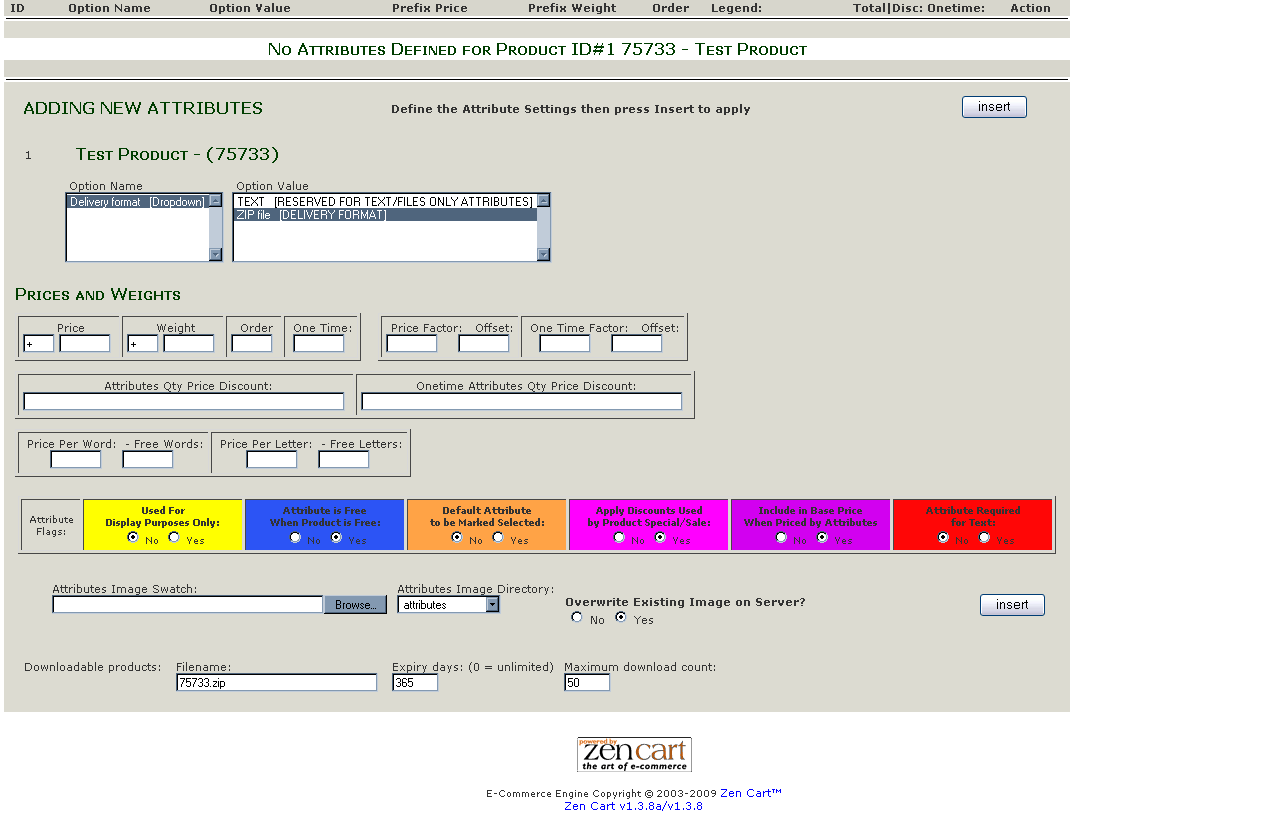
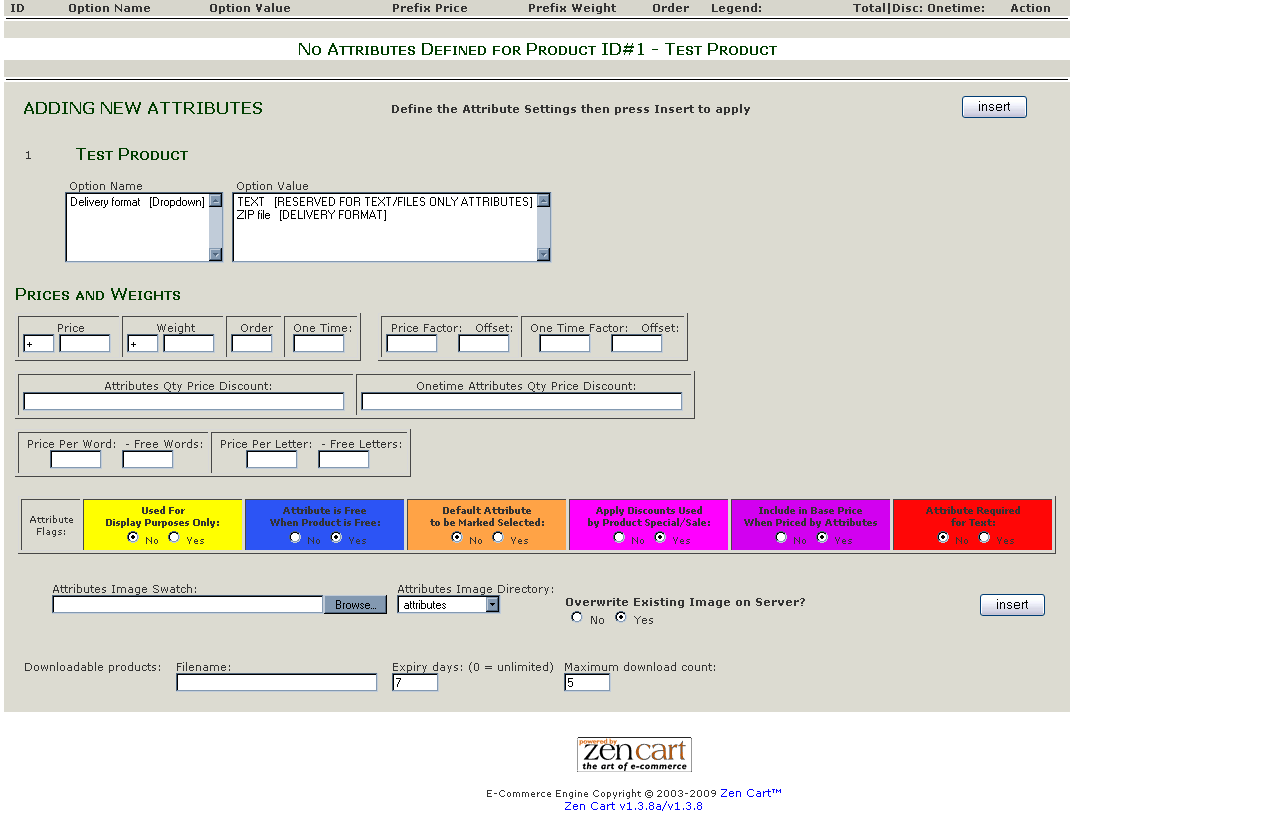
The first thing I want to remind everyone is that we're only covering the basics here. If you want more detailed information or info on something you saw but I haven't covered then goto http://www.zencart.com and use their help files. My goal here is to give everyone a rudimentary and functional knowledge of ZenCart. With that in mind, we're going to scroll down a bit to the first bit of the tan section showing on the page where you should see No Attributes Defined for Product ID# and the product name. This is where, in the future you will see any existing attribute that an item may already have. For now scroll down a bit more to the ADDING NEW ATTRIBUTES section of the larger tan area. The second image to the right shows you the are I'm referring to. Now since I am working with a downloadable product, I see that me Option Name is showing in the first of the white boxes. To select it, just click on it one time, then move over to the second white box where you will find your Option Value listed and click once on it. The fourth image shows this as I do it for the tutorial. For the purpose of a downloadable product you can skip the PRICES AND WEIGHTS section and go right down to the bottom where it says DOWNLOADABLE PRODUCTS. Here is where you will tell the shopping cart,
that when customers purchase this product, they get the downloadable
product we're going to assign to it. In this case, I've used the model
number to name my zipfile that I will load onto the server later. What
we're going to do in the box is type in the file name, in this case mine
is 75733.zip and I want my customers to be able to have access to it for
a year after they purchase it so in the EXPIRY box I've entered 365. To
give my customers ample attempts to download the product over the year,
I've set the MAXIMUM DOWNLOAD COUNT to 50. this means that they can
download the product 50 times before their download is disabled. For our
downloadable product we're now done and you can click on the
The fifth image to the right shows you the product and the assigned attribute. What we're look for is either a GREEN or RED dot followed by the word Filename. Now if you've uploaded your zip already and did it right, then this dot would be green. Since I haven't uploaded my zip file yet, the dot is red and means that the download for this product won't work when someone purchases this product. Now is where we get into learning how to FTP files to the server so that we can get our downloadable products to work properly. Other product options such as scents or colours
can also be assigned to your products on this screen. Follow the same
steps for the downloadable products. The only difference is, when you
select the Option Name, you'll then go over and select the first Option
Value from the second box and click on the
So now it's time to learn how to load things up via FTP, so click on the NEXT link below and we'll start getting your products onto your server. |
|
|
|
--------------------------------------------------------------------------------------------------- |
||

