| Adding Products
Now for the moment I know you've all been waiting
for.... adding your products to the store so people can buy them and you
can enjoy some money in your pocket. Well hold on, because other then
coding this might be one of the most complicated parts about ZenCart, but
you've made it this far so bear with me and I will get you through this
with no problems at all.
Some things you're going to need before we get
started.
- A Zip file, anything will do, something around a
megabyte in size perfect
- An image for the product we'll be adding
I'll be covering two kinds of products here,
downloadable, and shippable. These products differ in that one is virtual,
doesn't really exist in the sense that you can't eat it or touch it, and
the other is a tangible product that will need to be mailed to your
customer. Both products follow the same steps for the most part, and I
will make sure to illustrate the differences as we go through this. Let's
start by going here:
CATALOG >
CATEGORIES & PRODUCTS > |
|
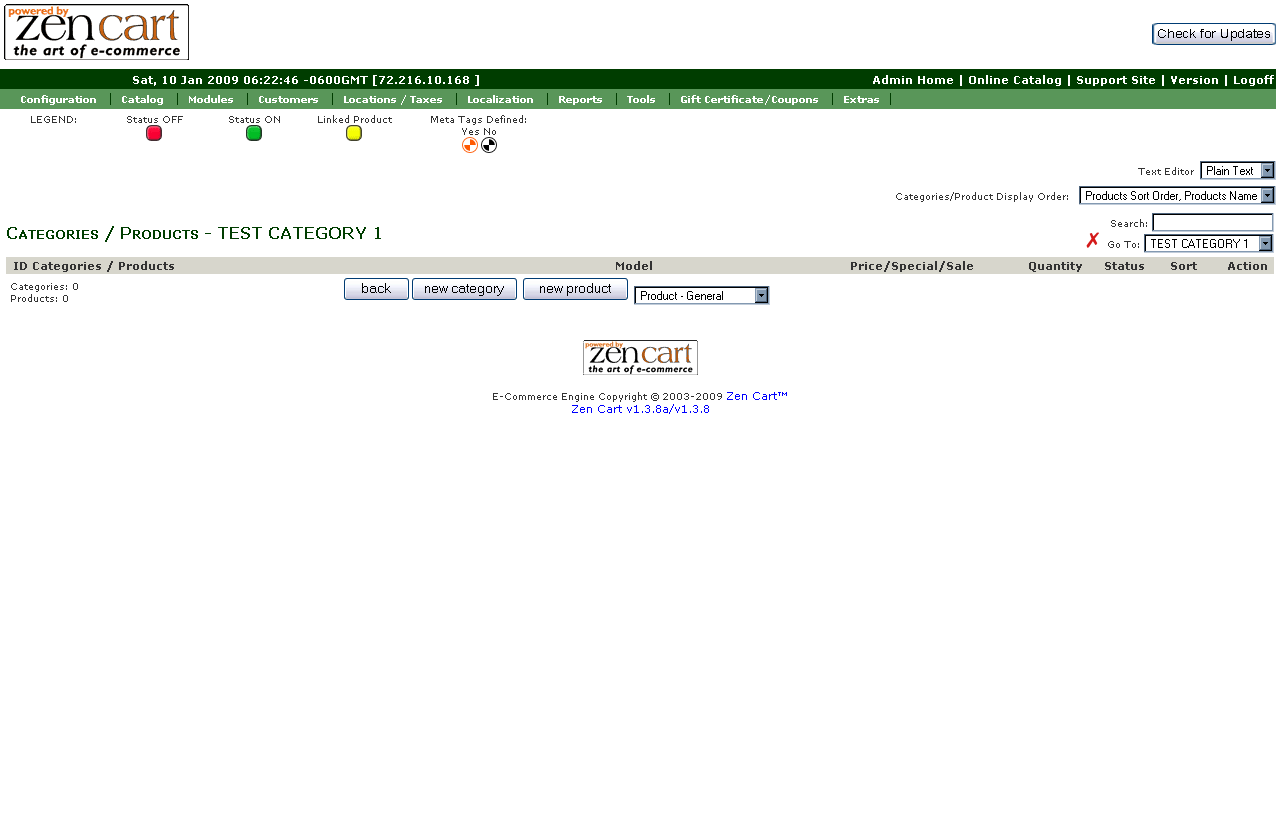
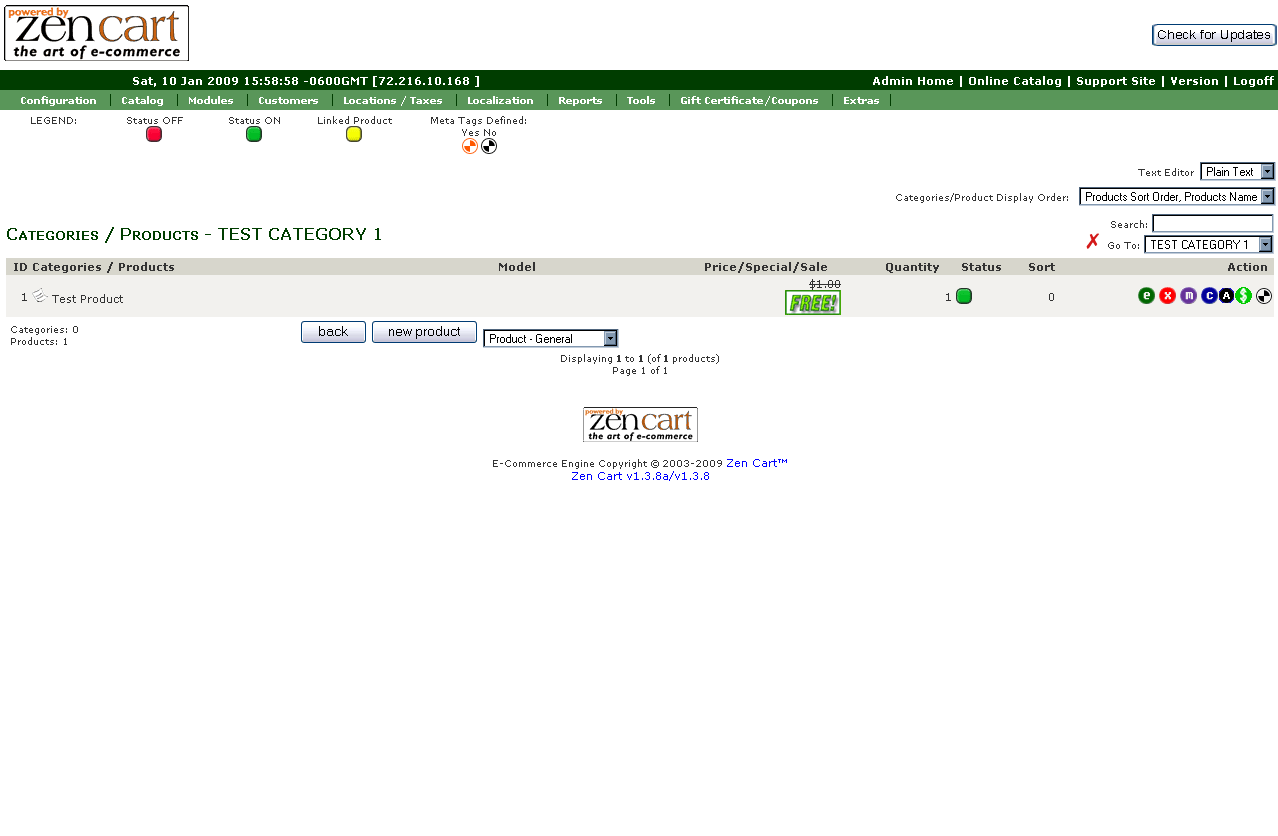
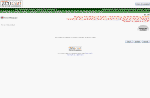
Step One:
Adding
your product Assuming you're looking
at the screen as shown in the picture from Step One, click on the
 button to be taken to the page where we will be
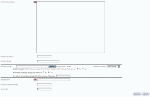
adding our product into the cart. To the right are two images that
together make up the page for adding new products. Use them for reference
as I walk you through adding products. Starting at the top of the page
I'll go down line by line and guide you on what to do, we're just going to
setup a simple product now so it won't be that hard.
button to be taken to the page where we will be
adding our product into the cart. To the right are two images that
together make up the page for adding new products. Use them for reference
as I walk you through adding products. Starting at the top of the page
I'll go down line by line and guide you on what to do, we're just going to
setup a simple product now so it won't be that hard.
- Products Status -
unless you are editing a product, this will automatically start out as
"In Stock", if you want to turn your product off, you can move the dot
over to "Out of Stock" as well. If a products stock runs out, it will
turn off as well and then once you update the quantity you can turn it
back on.
- Data Available -
self explanatory, however, this is good if you are wanting to have a
sale but want to let people know something's coming out. Just set the
date that the product will be available and when that date comes the
product will be available for purchase.
- Products Name -
this one is really self explanatory, put in something "Test Product".
- Product is Free -
put a check in the "Yes" dot if you want your product is free.
- Product is Call for Price - If you don't want to
list prices for a product, or it's something that changes regularly. If
you put a tick in the "Yes" box then in the place of the products price
the customer will see "CALL FOR PRICE" listed.
- Tax Class -
Please be careful here, not because it will damage the cart, but because
you need to be sure that you either need to, or not need to collect tax
for the products you sell in your state. You have the option to leave
this as "None" or select "Taxable Goods". If you select taxable then the
products price will automatically be adjusted.
- Products Price ( Net )
- Enter the price you want to charge for your product.
- Products Price ( Gross
) - This will automatically be filled when you add the
products price ( net ).
- Product is Virtual -
Here is where you determine whether your product is a download or
something that is actually mailed to the customer. Click "Yes" if the
product is going to be a downloadable item like a picture or poem or
something. Otherwise leave it set to "No" so that the cart knows that
during checkout it needs to get the customers shipping address.
- Always Free Shipping -
If your product is something that gets mailed, but you want
to have free shipping then click on "Yes, Always Free Shipping". This is
useful if you want to inflate your prices then offer free shipping.
- Products Quantity Box
Shows - Leave this set to yes if you want people to be able
to purchase more then one of your item.
- Products Qty Minimum -
normally you can leave this alone
- Products Qty Maximum -
normally you can leave this alone
- Products Qty Units -
normally you can leave this alone
- Products Qty Min/Unit
Mix - normally you can leave this alone
- Products Description -
This is pretty self explanatory and is where you will enter a
description for your product so that your customers can learn more about
it and read details about it.
- Products Quantity - Here is
where you will enter how many of this product you have in stock. If this
is a downloadable product you can set this to 1000 or if it's a physical
product, you can enter how many of them you have available to mail out.
This is very useful in avoiding backorders.
- Products Model - If you have an
item number to help you identify this product then enter it here. I like
to name my products in this format: GCW-GR-0001. The GCW tells me it's
from GotCandyWraps, the GR tells me it's a graphics pack, and the 0001
is the actual product number. This makes it much easier to find products
and keep everything organized.
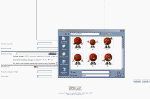
- Products Image -
Click on the browse button to locate the image file you want to use for
this product. In keeping things organized, I also name my pictures to
match the Products Model, so my display image would be GCW-GR-0001.jpg.
You can use GIF, JPG, BMP, and PNG images here. Once you've found the
image you're going to use, click on it and then click on "Open" to add
it to the product. This image will automatically be uploaded to the
server during the next step.
- Products URL -
This can be used for linking to a manufacturers website that has more
information about the product you're selling.
- Products Shipping Weight -
This is important to put
in for products that have to be mailed. If you're using the USPS
shipping module it will help to calculate the actual shipping charges
based on your customers address, your address, and the products weight.
There's no need to put "lbs" or "k" for the weight, just add the number
there.
- Sort Order -
As mentioned before in setting up
your categories, this is useful for listing your products in a specific
order.
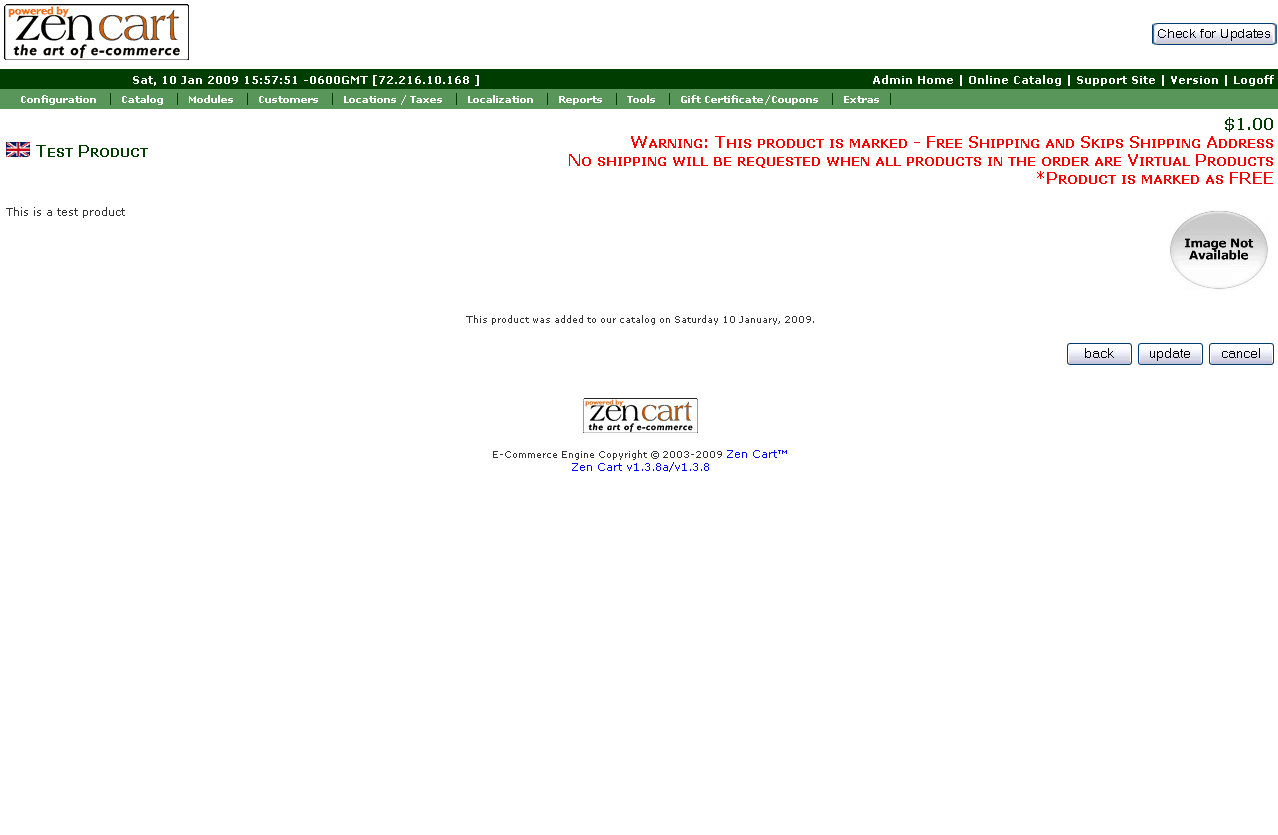
At this point we're ready to take
our first look at our new product. Click on the
 button to go to the next screen where you can get an idea of what your
product will look like and check for any spelling errors and make sure
that your image loaded up to the site. If everything looks good then
click on the
button to go to the next screen where you can get an idea of what your
product will look like and check for any spelling errors and make sure
that your image loaded up to the site. If everything looks good then
click on the
 button and the product will be added to the cart. If there's an error
you want to correct, click on the
button and the product will be added to the cart. If there's an error
you want to correct, click on the
 button, correct it, then proceed.
|
Part One
Part Two
Adding An Image
Preview Page |
|
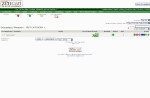
Step Two: New Buttons to play
with Now that you've actually added
your product you should now be looking at a screen like the one to the
right. There's a series of buttons on the right similar to the ones you
learned about when adding your categories. Below is what those buttons
are for.
-
 -
Status - As with the categories, this
button will allow you to turn a product on or off, it will also turn
off automatically and become red -
Status - As with the categories, this
button will allow you to turn a product on or off, it will also turn
off automatically and become red
 if
the products inventory falls to zero. if
the products inventory falls to zero.
 - Edit - This button does the same
thing as it did for the categories and allows you to edit the product.
- Edit - This button does the same
thing as it did for the categories and allows you to edit the product.-
 -
Delete - This again is a bad button and will delete the
product from the store. There is no way to recover it after you do
this so be careful. -
Delete - This again is a bad button and will delete the
product from the store. There is no way to recover it after you do
this so be careful.
 - Move - This button will allow you
to move your product to a different category.
- Move - This button will allow you
to move your product to a different category.-
 -
Copy - With this button you have the option to duplicate
the product, so that if you want to list the same product several
times and want separate listings for each, then this would help. -
Copy - With this button you have the option to duplicate
the product, so that if you want to list the same product several
times and want separate listings for each, then this would help.
-
 - Attributes -
Remember this button as we will be working with it on the next
tutorial. - Attributes -
Remember this button as we will be working with it on the next
tutorial.
-
 -
Price - You can use this to setup
various pricing functions for this product and I will touch on that
more in another tutorial. -
Price - You can use this to setup
various pricing functions for this product and I will touch on that
more in another tutorial.
-
 - Meta -
This button allows you to edit the meta tags just like it did with the
categories. Enter your keywords and go. - Meta -
This button allows you to edit the meta tags just like it did with the
categories. Enter your keywords and go.
 -
Preview - Here you can get a quick look at the product without
having to edit it and all that. -
Preview - Here you can get a quick look at the product without
having to edit it and all that.
At this point stay right where you are in ZenCart
and click on the NEXT link below to go to the next tutorial where we'll
add product attributes to this product. |
 |