|
|
||
| New User Tutorials for ZenCart 1.3.8a |
February 27, 2009 |
|
| ◄BACK | ||
| Selecting a Template
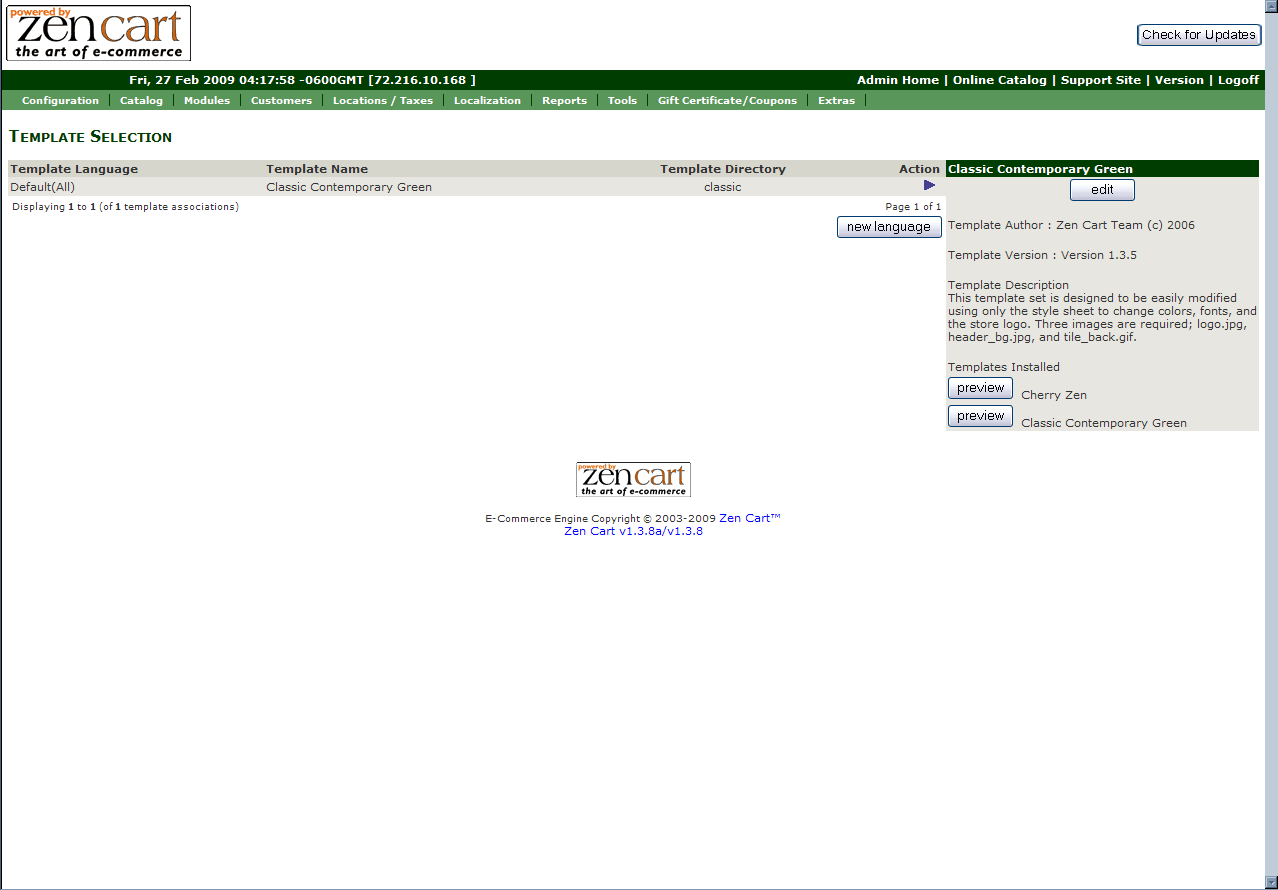
in the ZenCart Admin At this point you should have the Cherry Zen template loaded up on the server and are now ready to activate it. Login to your ZenCart admin panel and go to: TOOLS > TEMPLATE SELECTION If you look at IMAGE ONE to the right you should see the same thing now in your carts admin panel. It's here also that we can tell if the template we want to use is installed correctly by looking on the right hand side, we should see Cherry Zen listed under the Templates Installed portion of that block. If not, email me and we'll get it taken care of.
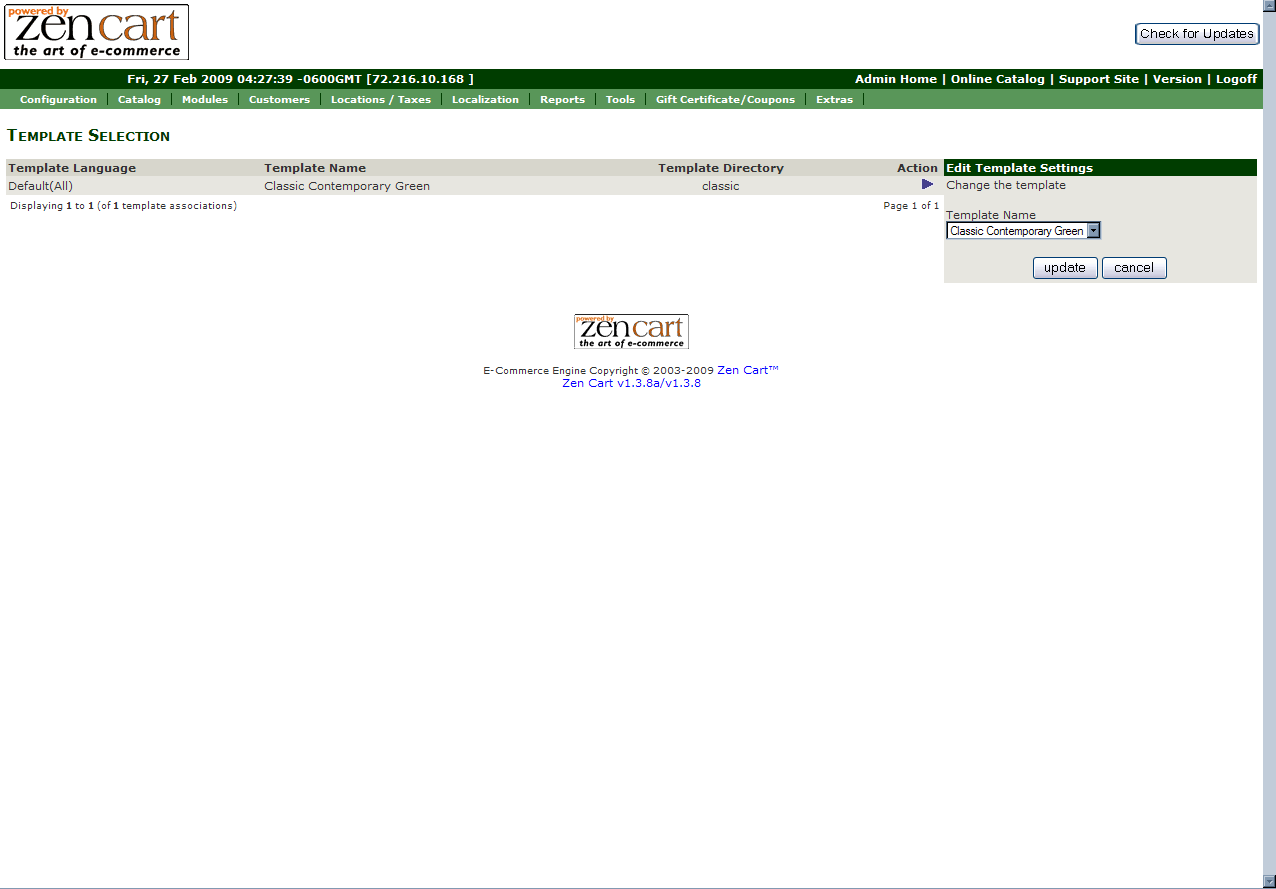
Barring any problems, what we want to do now is click
on the
IMAGE TWO on the right shows you the drop down menu,
select Cherry Zen and then mash the
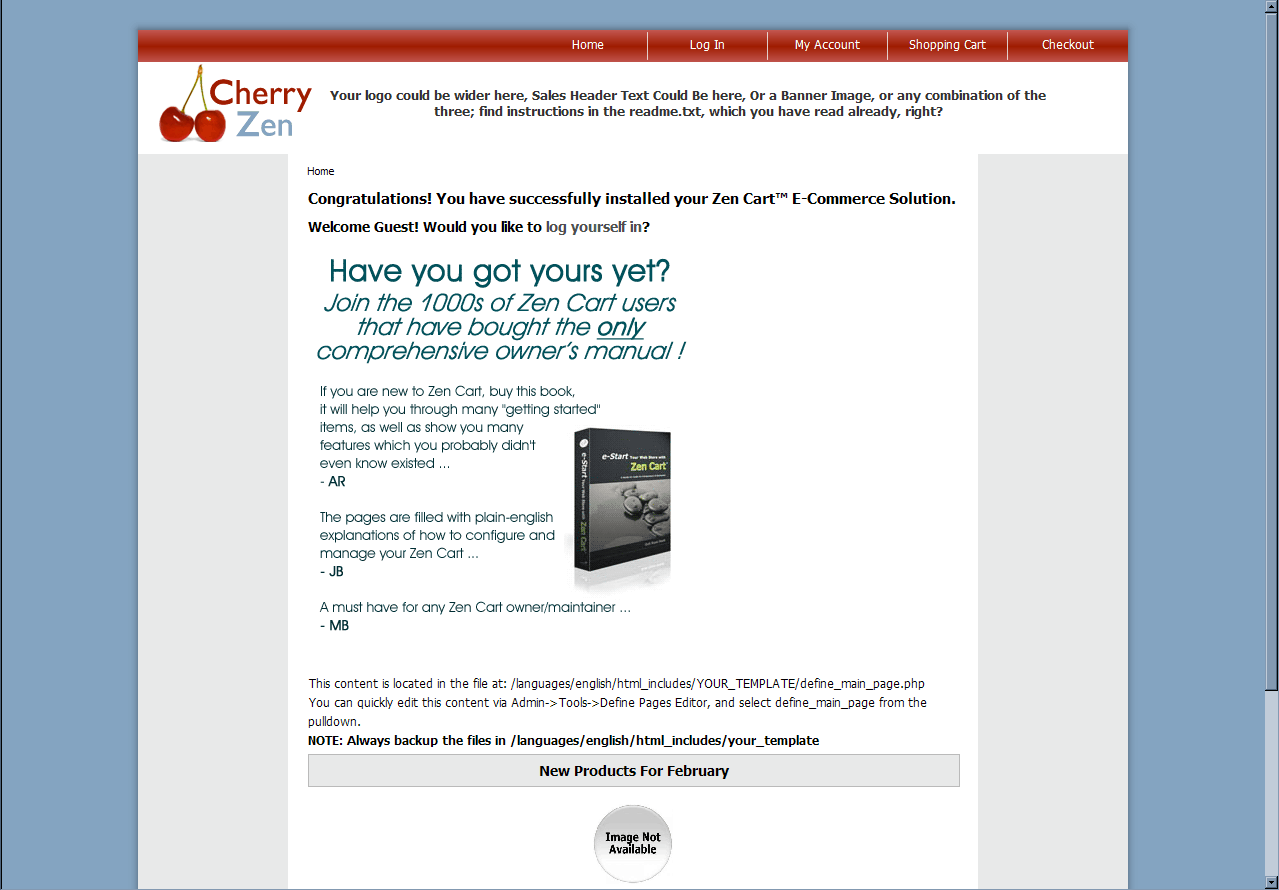
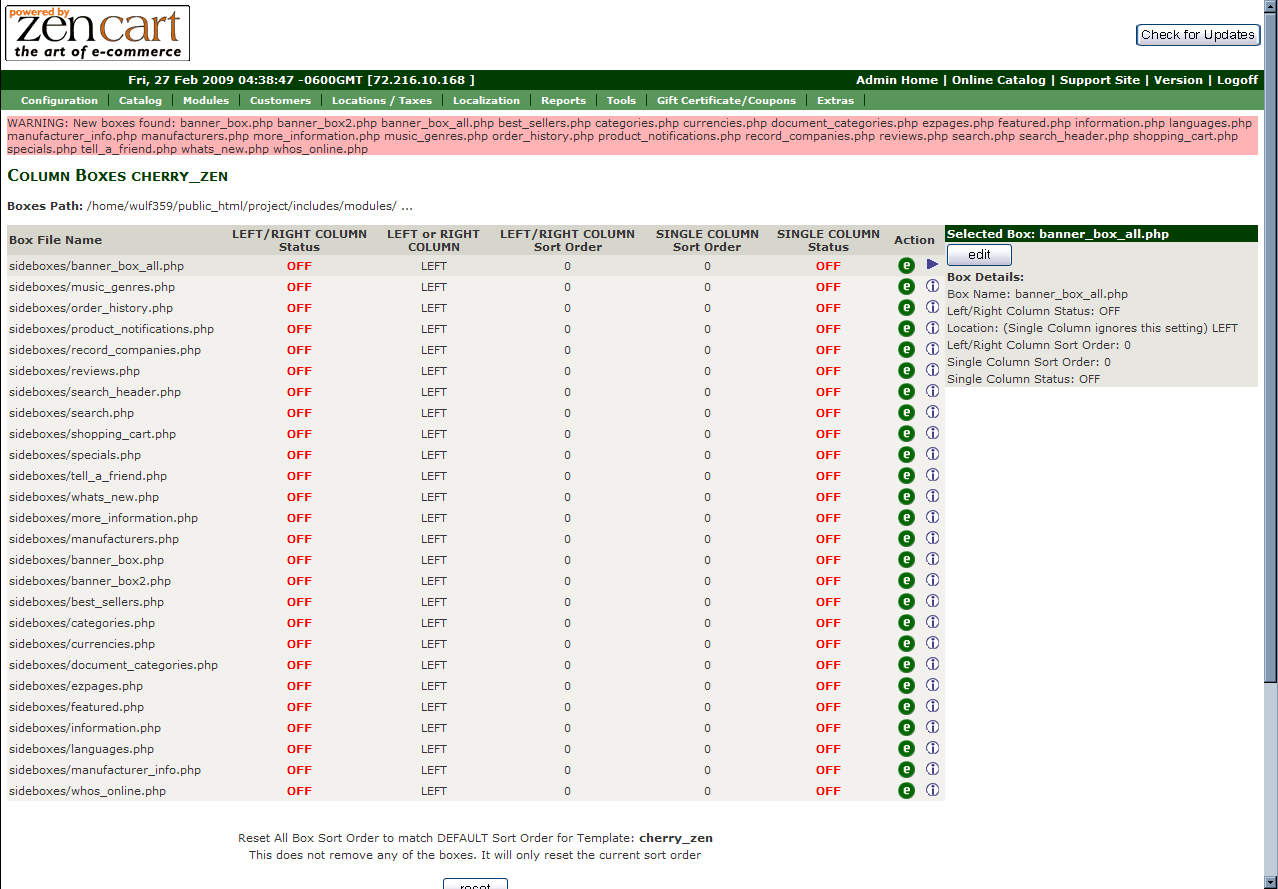
Now let's take a look at the site. If you're still in the admin section, click on the ONLINE CATALOG link in the green navigation bar and it will open the site in a new window. IMAGE FOUR shows us what the site looks like now, but oh no.... all of the sideboxes are gone now !!!!!! Whatever shall we do ???? Don't worry, you didn't do anything wrong, you just haven't done something yet and I am about to tell you how to do just that thing to get your sideboxes back. Back in the ZenCart Admin panel, goto: TOOLS > LAYOUT BOXES CONTROLLER
IMAGE FIVE shows you what you should see, that big
pink area is a warning that something's not right and we need to fix it.
To do that, scroll down to the bottom of the page and click on the
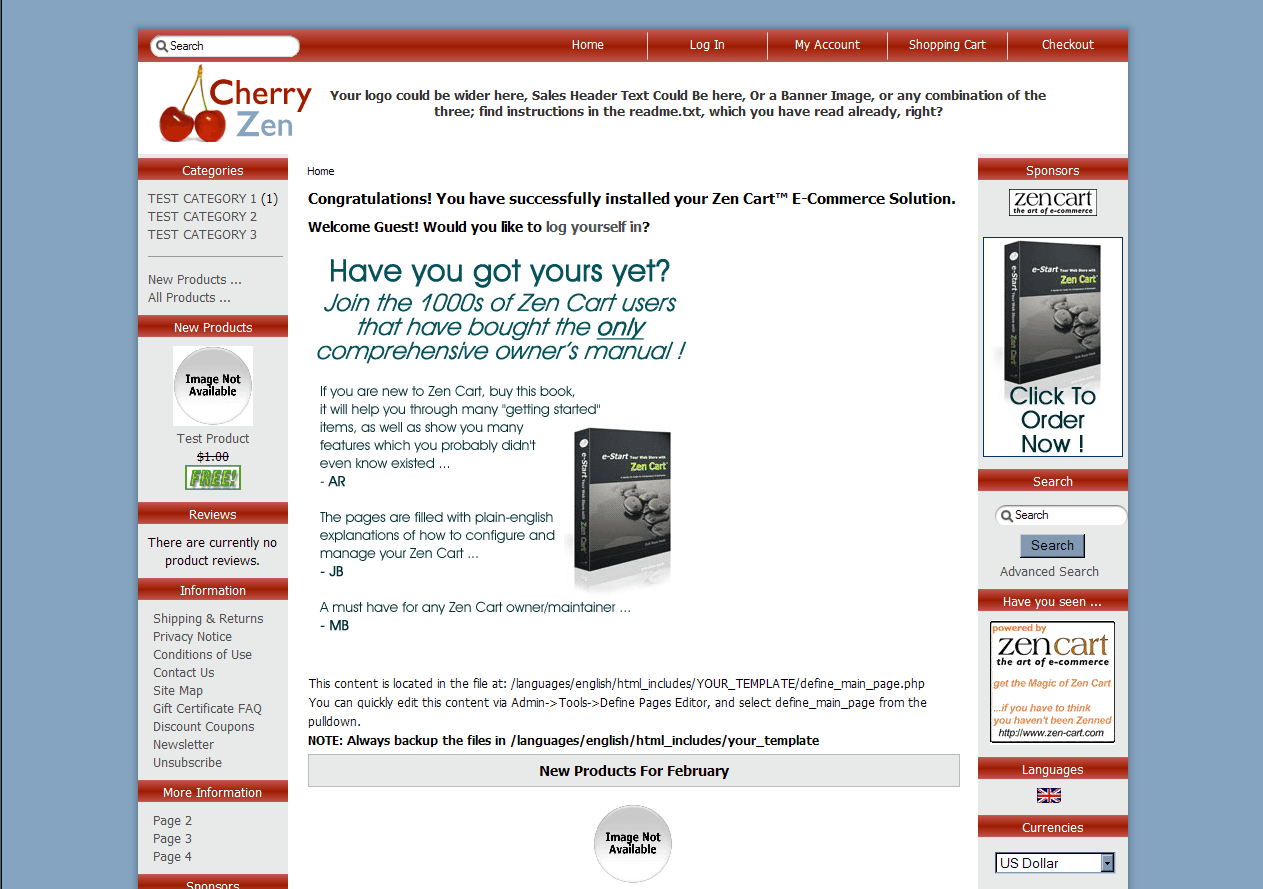
IMAGE SEVEN to the right shows your site now, with the Cherry Zen template installed and properly setup there. And there you have it, that's how to select a template from the ZenCart Admin and apply it to your site. This is the same procedure for any template you load up to the site, you will need to do this if you want to change to another template. If you think this is way out of your league and want help, feel free to email me, just don't throw anything or yell at me as I'm very fragile and might break. You can get a hold of me at: wulf@valhalla-computers.com Now, scram, move onto the next tutorial and see what's in store for you there.
|
|
|
|
--------------------------------------------------------------------------------------------------- |
||